Editing a photograph is no more a difficult task. All you need to do editing is a perfect photo editing app. Adobe Photoshop is one of the best apps. It provides us with different tools and techniques for editing an image. A portrait can also be edited by Photoshop.
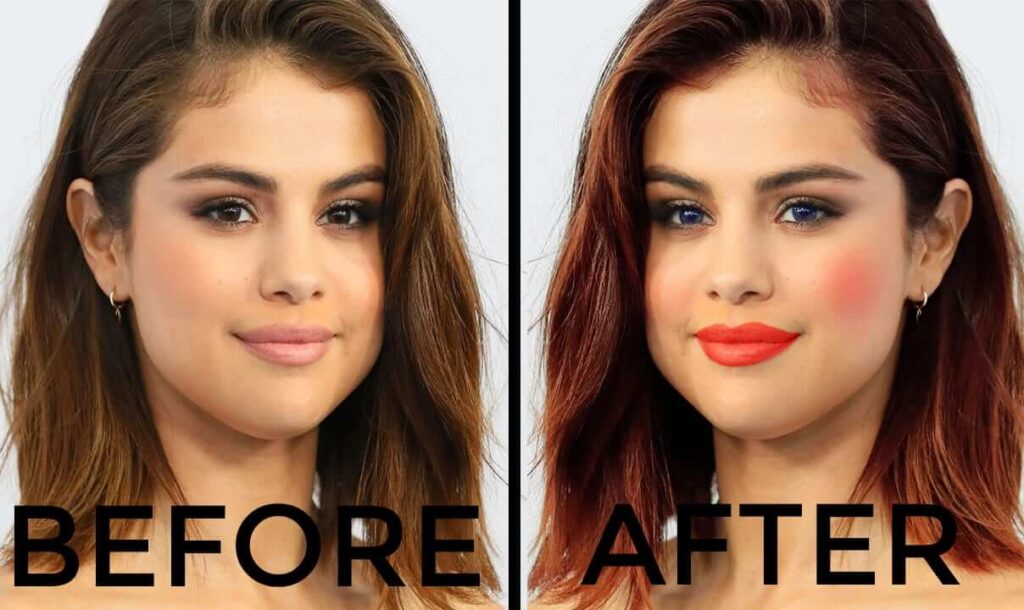
In this Photoshop tutorial, we are going to make you aware of an important thing that is editing or fixing lipstick colour in Photoshop. Basically, women are more concerned about lipstick color. It should be perfect. Men also change their original lip color to very natural lipstick color.
Sometimes, you forget to put lipstick on or do not have a proper shade of lipstick but don’t worry about this because Photoshop has made it easier for you to change or fix your lip color in images.
As we know that technology is developing and more things are added up. With time, advanced editing is appreciated more, and people who do not know professional editing are shunned. Nothing is impossible. You just have to put in little effort to achieve your goals.
Using Photoshop to edit or change your lips color or add lipstick to your photographs consists of some important steps that are lengthy but easy to follow up. We will be telling you about these steps one by one in detail so that changing lip color will no more be a problem.
First, we will let you know how to change lip color in photoshop. Second, you will get to see how to add lipstick or a totally different color in Photoshop. It is just a game of different shades and blends modes.
Table of Contents
Step 1
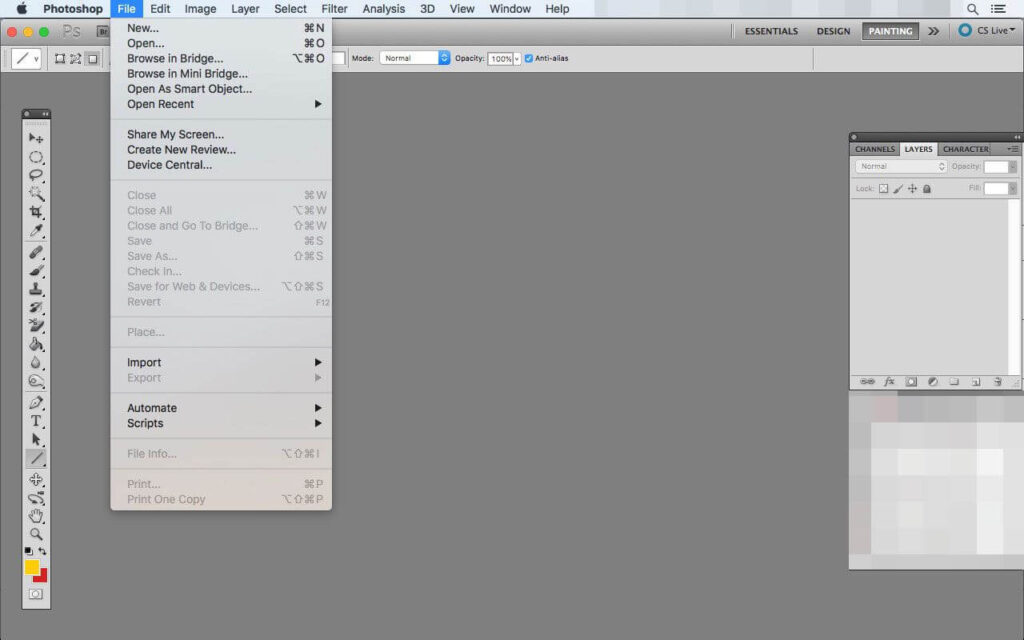
We are going to slightly change or fix the lip colour. You must have Photoshop installed in your Window. The very first step is to open Photoshop on your Window and select the image in which you want to bring a change. This step is simply done by clicking on the “File” menu. Now, click on the file or image that needs to be edited.
Note one thing that if you are selecting an image with no lipstick or want to totally change the color of your lips, you will have to do some additional editing. For this purpose, you have to set hue/saturation adjustments from adjustment layer.
Step 2
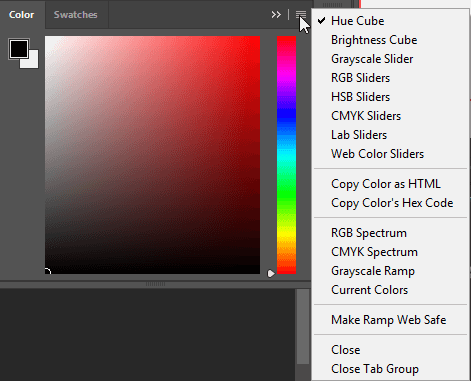
In the second step, you have to search for the “New Layer Adjustment” tool. This tool is present on the lower right side of Your Window. Click on that tool and you will get a pop-up menu. From here choose the “Select/solid color” option. There will be shown a list of colors. Select anyone that is related to your original realistic lipstick shade. Drag that color on your image. The entire image will get colored.

Step 3
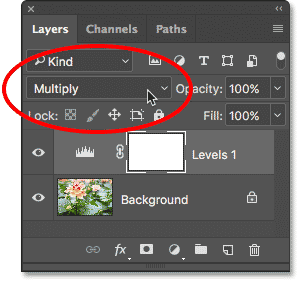
Blend modes give you different shades of color to create dark or light shades. By clicking on the blend modes, you will get some options. Select “multiply” that will put color on your image. Increase or decrease the intensity of colors accordingly. If you want to have a darker shade of the same color, you can also drag the cursor multiple times at the same spot.
Step 4
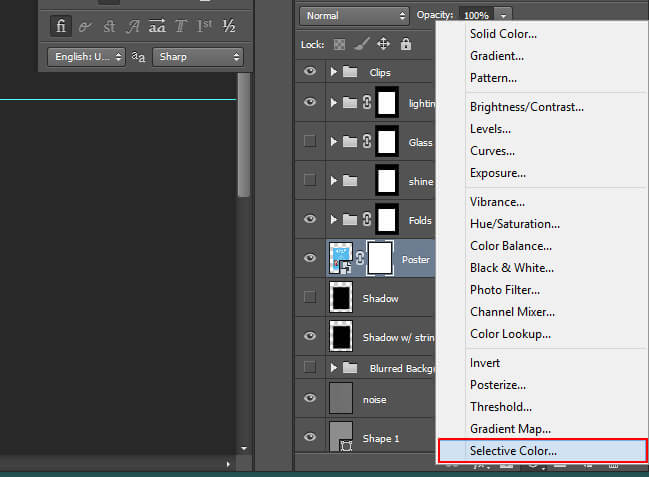
In this step, add adjustment layers mask from “Selective Color” to your image by pressing “Ctrl+I”. It will mask the color you applied before. This mask option has two colors that are black and white which hide the other colors.
Step 5
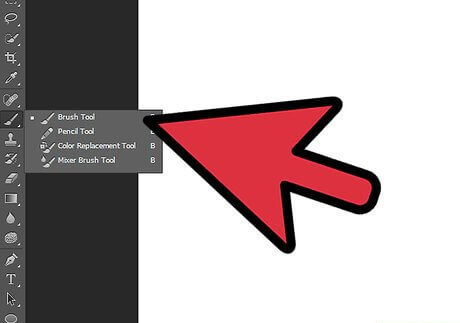
Now, get a brush from the Brush Tool. Its icon is capital B. Make sure that your brush is according to the requirement. The adjustments of the brush are made through the Options bar. Use a brush with soft edges because if you use a hard brush it shows fakeness by creating hard edges.
The hardness of the brush must be zero while applying shades on the lower lip.
It is very important to zoom in on your picture that shows clear and minor details. It helps you with your perfect editing and change in lips color.
If your painting goes beyond lips, just click on the mask option and select black color. when the black color will be masked, white will appear and drag the brush over the area where unnecessary paint has done. The extra mark beyond the needed lines will be removed.
I need to mention here a very important thing that does not try to fix lips color on both the lips together. First, edit one lip and then another but remember the settings of blend modes and percentage of shades because it will avoid the difference in lips’ color. When you do the inner edge of the lips, decrease the size of your brush. It will increase the hardness of the brush which is needed here.
If increasing hardness does not allow your upper lip to be perfect without blending areas, click on the mask option and select black. Then drag the cursor on the outer lip line and remove the blended areas.
Step 6
After applying the color, set the shades of the color. Double click right and you will get a menu of shades. Drag the slider of the underlying layer to decrease the shade and add shine to the color. Your lip will get a lighter shade.
Some of the parts will show white and bright. This is done because blending shades makes an image more natural. If you do not adjust these settings, the lips will look dry and rough which shows unprofessional editing.
Step 7
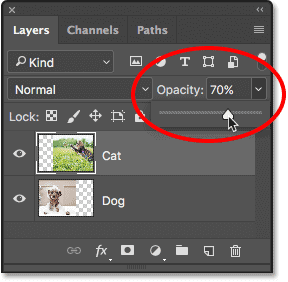
Now darken the outer layer of the lip by clicking on the Opacity. It will create an outline to your lip that is generally done by girls. Now, do upper lip editing. It is almost similar but you need to slightly harden your brush because the upper lip does not need to be blended much. So, both lips are edited separately.
Now, you are done with changing lip colour and you can also change the shade by setting Opacity like if you don’t want dark shade. If men do editing for their lips, they need natural color for their lips. Photoshop helps them put a natural color of lips.
To change, edit, or fix the color of lips, one must need to be good with color blendings, blending mode and the use of a brush. These are the main things and if you are dull with them, you cannot get a perfect change in lip colour.
Change Lip Color in Photoshop on MacBook
If you are using Photoshop on your Macbook, the steps are the same. Some keys are different like Command instead of Ctrl. All of the steps are also followed when you use Photoshop to change lip colour.
Conclusively, if you do not want to go into details of how to change lipstick colour, just click on the image you want to edit. Then go to the Photoshop layers and add adjustment layers. Zoom in on the picture and select a perfect brush. Choose a color and then mask it with the Mask tool. Start painting the lip and adjust shades according to your needs. To bring the change in lip colour, you need to follow these steps. It adds up a new spice to your lip colour. Now only new pictures are edited but also an old picture can have changed lip color through Photoshop editing.
Photoshop is the best app for photo editing. It gives a natural look even after editing. The steps mentioned above will hopefully help you out in changing lip colour. Anyone can go through these steps and get his/her images done. He/She doesn’t need to hire highly qualified people for editing. Just visit us and go through the steps we mention here and boom you will get everything by yourself. Learn all these steps and appear as a professional editor in the market. Excel with your skills and do not let others make you dependent. You can watch any video tutorial for more information on lips file plain.