Want to know more about what it takes for visual products?
Product photography is the skill of taking great pictures of things to make them look their best. It is an important part of marketing because it helps companies show off product features and appeal to people who might buy them.
Want to make more sales with beautiful pictures? Let us step into the topic of taking pictures.
Table of Contents
Product Photography
Product photography is the process of taking high-quality pictures of goods to help sell and market them. These pictures show off the,
- Product’s features,
- Benefits and
- Quality on websites, social media, e-commerce sites and other places.
Businesses that want to get customers and show how valuable their items are need to take good pictures of them.
Define Product Photography
Product photography is a type of commercial photography that focuses on showing goods in a way that is both accurate and appealing. To make sure the product is shown in the best light, you need to know how to use angles, lighting, and technical skills.
Product Photography Definition: Product photography is the art of taking pictures of things that are both visually appealing and tell you important things about the item.
Importance of Product Photography
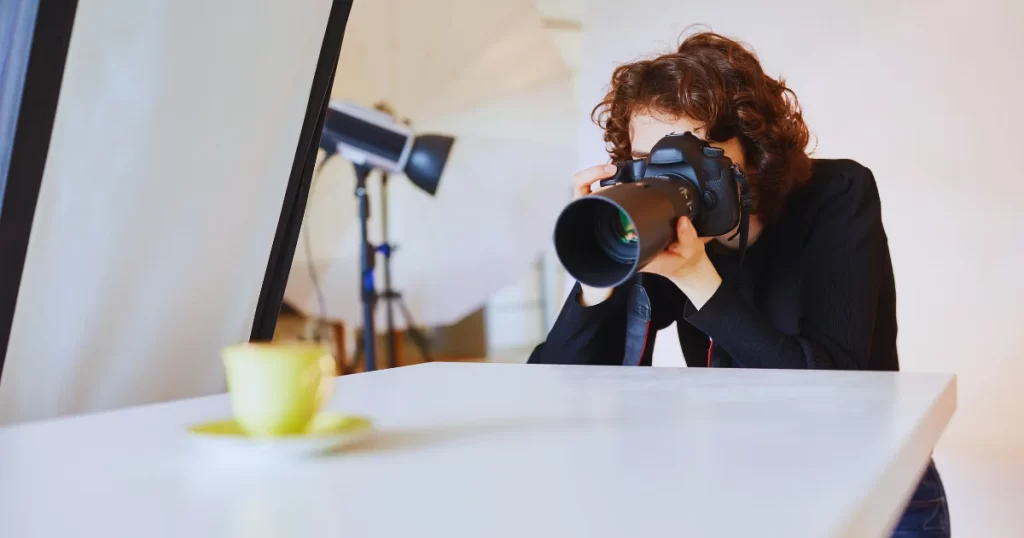
- First Impressions Matter: High-quality product photos grab attention instantly.
- Trust Building: People are more likely to buy something if the pictures are clear and correct.
- Conversion Rates: Good images improve conversion rates in e-commerce.
Product Photography Techniques
- Lighting Setup: To get rid of shadows, use softboxes or natural light.
- Product Positioning: Right directions bring out the best in things.
- Editing and Retouching: Improving the quality of a picture requires post-production.
| Key Aspect | Importance in Product Photography |
| Lighting | Provides clarity and eliminates shadows |
| Composition | Frames the product effectively |
| Post-production Editing | Enhances the overall appearance of the image |
Cut Out Image Media can improve product shots by isolating and improving images. This is a great service for professional e-commerce presentations. Their team uses cutting-edge methods to get great results for a wide range of businesses. Cut Out Image Media.
What is it Called When You Take a Product Photoshoot?
“Product photoshoot” is the term for taking pictures of a product to sell or advertise it. This kind of shoot is meant to show off the product’s features in a way that is appealing and makes people want to buy it.
A shooter, a stylist and sometimes a creative director work together on a product photo shoot. This is especially true for bigger brands.

Types of Product Photoshoots
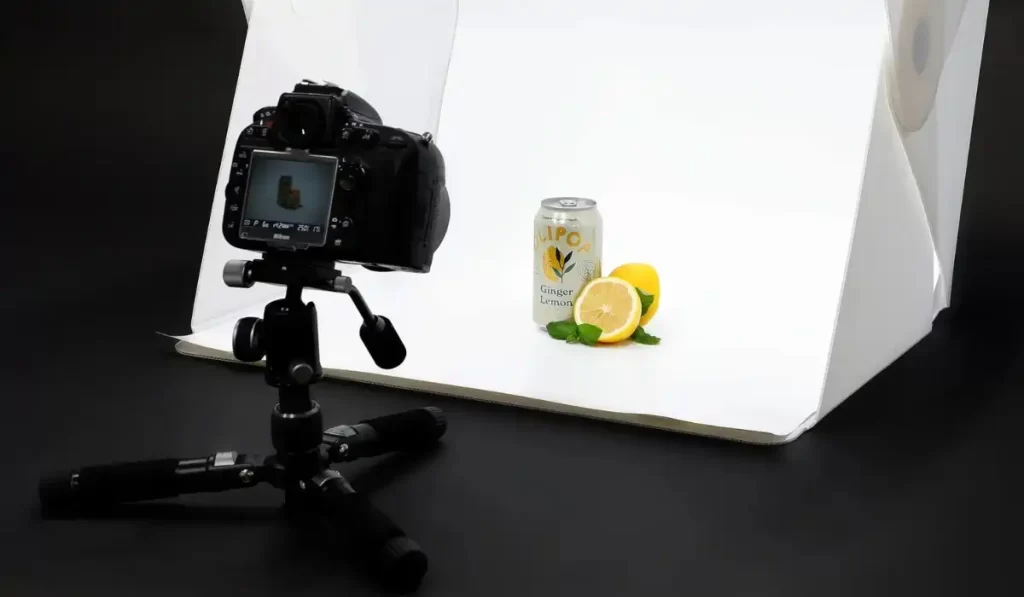
- Studio Photoshoot: Taken place in a controlled setting with enough light.
- Lifestyle Photoshoot: Product is shown in a real-life setting.
- 360-Degree Photoshoot: Have a full view of the product from all angles.
Elements of a Product Photoshoot
- Props: Make the thing look better and make sense in its context.
- Backgrounds: Backgrounds that are clean or have a theme help the product pop out.
- Lighting: The product will be clear and free of distractions if it is lit properly.
Benefits of a Product Photoshoot
- Visual Storytelling: Adds a story to the goods.
- Professional Look: Improves the way quality is seen.
- Increased Sales: More people buy when the images are attractive.
| Element | Role in Product Photoshoot |
| Backgrounds | Provides a clean, distraction-free focus |
| Props | Adds context and enhances aesthetics |
| Lighting | Ensures clarity and detail |
Cut Out Image Media’s Clipping Path Service makes it easy to remove backgrounds precisely and make photos that are smooth and clean. Businesses that want to show off their goods with clean, sharp lines should use this service. Clipping Path Service.
Photography Products
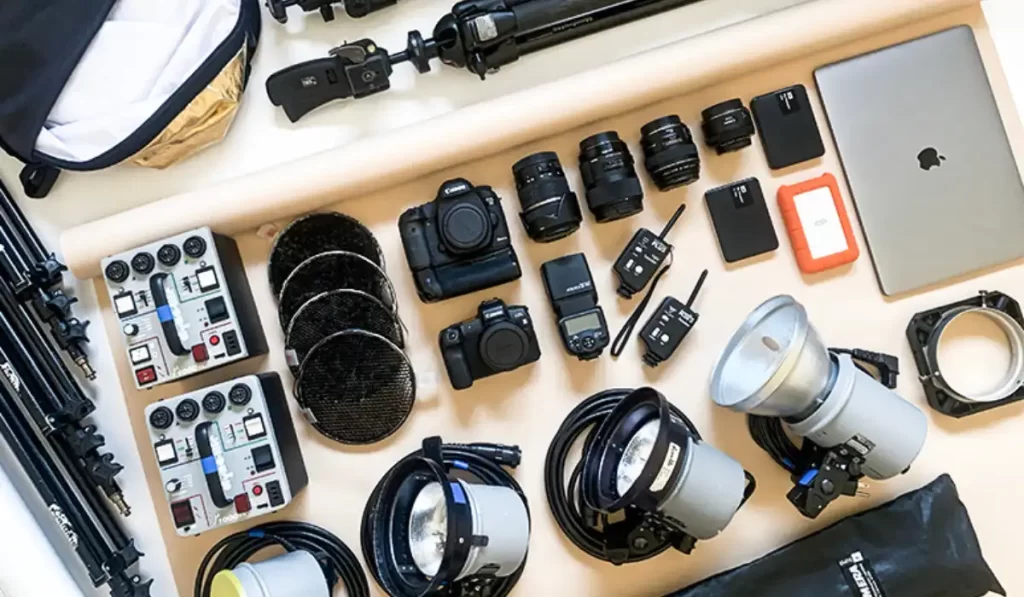
The tools, equipment, and items used in a product photoshoot are called photography products. Some examples are cameras, lighting gear, tripods and even tools for editing.
Choosing the right items is very important for getting good pictures.
Essential Photography Products
- Camera: High-resolution DSLR or mirrorless cameras.
- Lighting Equipment: Softboxes, reflectors and ring lights.
- Tripods: Ensures stability and consistent framing.
Additional Photography Tools
- Background Stands: Holds different background options.
- Lenses: Various lenses for close-ups or wide shots.
- Editing Software: Adobe Photoshop or Lightroom for post-production.
Importance of Quality Photography Products
- Professional Quality: Improve the overall quality of product photos.
- Efficiency: High-quality equipment ensures smoother photoshoots.
- Durability: Reliable equipment reduces technical issues during a shoot.
| Product | Function in Product Photography |
| Camera | Captures high-resolution images |
| Softbox Lighting | Provides even, soft lighting |
| Editing Software | Refines and enhances the final images |
Product photo editing services improve pictures of products by making the colors look better, changing the lighting, and getting rid of flaws. Cut Out Image Media is an expert at creating finished images that grab the attention of potential buyers. Product Photo Editing.
Clipping Path
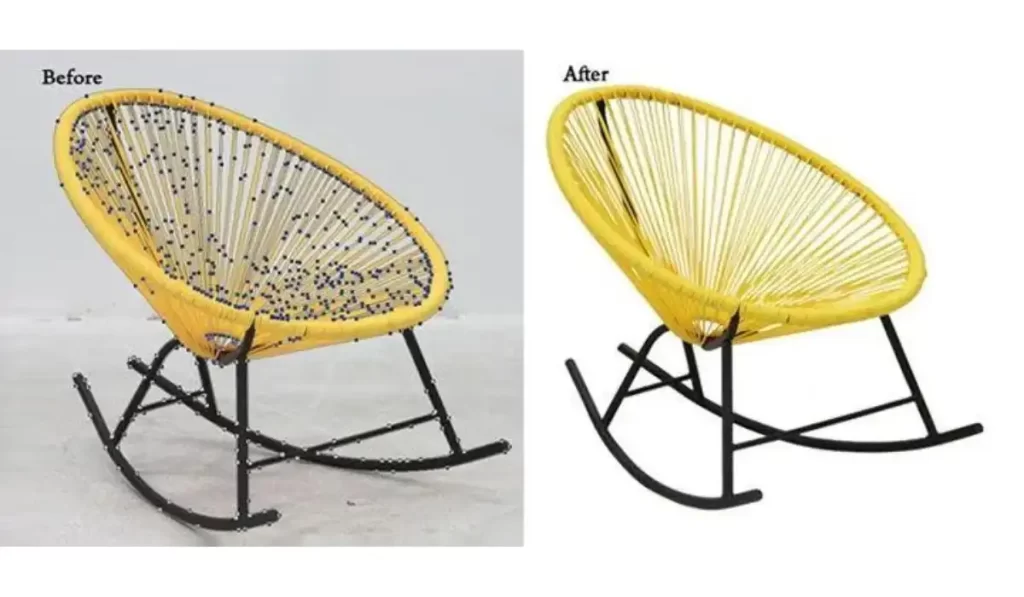
A clipping path is a tool used in photo editing to separate an object from its background. In product photos, this is often done to make the item stand out or put it on a clean background so that it can be used in catalogs, ads, or online stores.
What is a Clipping Path?
A clipping path is a vector image that draws a line around the item so that the background can be changed or removed. In e-commerce, this method is often used to make sure that goods look the same and professional on all platforms.
Uses of Clipping Path in Product Photography
- Isolate Products: Take away any distractions and put the focus on the goods.
- Change Backgrounds: Place products on different backgrounds.
- Consistency in Listings: Ensure uniformity across multiple product listings.
Advantages of Using Clipping Path
- Cleaner Presentation: Makes the product the sole focus of the image.
- Improved Flexibility: Helps for easy changes to the background.
- Better Visual Appeal: Improve the overall appearance of the product.
| Clipping Path Benefit | Description |
| Background Removal | Isolates the product for cleaner visuals |
| Custom Backgrounds | Enables quick swaps for different contexts |
| Consistent Listings | Ensures uniformity across multiple platforms |
Product photography is an important part of marketing because it helps companies show off their goods in the best way. It takes the right tools, skill and close attention to detail to do everything from knowing the basic definition to mastering techniques like clipping paths.
Types of Product Photography
Depending on the product and the people who will be buying it, different types of product photography are used for different reasons. Picking the right style will make sure that the product sells to the right people, whether it is showing off the fine features of jewelry or how versatile clothes are.
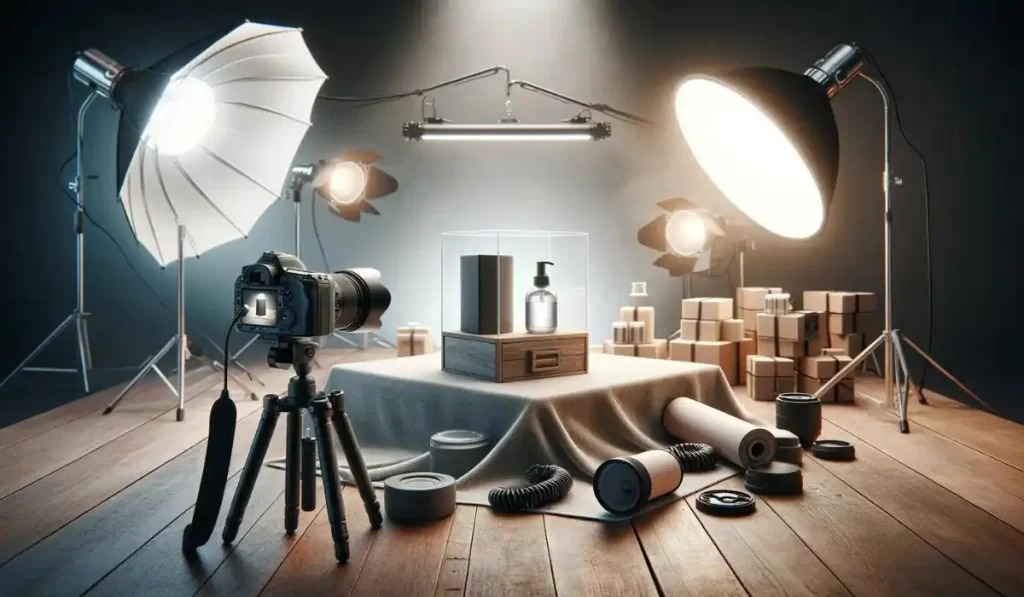
Studio Product Photography
Studio product photography is done in a controlled space, with professional lighting and backgrounds to make pictures that are clear and only show the object. It works great for stock pictures, online store listings, and ads.
- Controlled Environment: Photographers have full control over lighting, background, and setup.
- Consistent Quality: Makes sure that all of the goods are the same.
- Ideal for E-commerce: Clean, professional look appeals to online buyers.
Lifestyle Product Photography
Lifestyle photos shows how a product is used, giving customers a better idea of how it fits into their lives. This style looks good on clothes, home decor and tech.
- Contextual Appeal: Shows the product in real-life scenarios.
- Emotional Connection: Helps people picture themselves using the object.
- Diverse Settings: Can be shot in various environments like homes, outdoors, or cityscapes.
Macro Product Photography
Macro photography focuses on capturing small or intricate products like jewelry, watches, or electronics in high detail. It highlights textures, materials, and craftsmanship.
- Intricate Detail: Draws attention to the product’s best qualities.
- High-Quality Imagery: Best for marketing premium or delicate items.
- Close-Up Focus: Perfect for jewelry, electronics, and small accessories.
| Type of Photography | Best Use Case | Advantages |
| Studio Photography | E-commerce, catalog shots | Consistent and clean look |
| Lifestyle Photography | Fashion, home décor | Adds emotional context |
| Macro Photography | Jewelry, electronics | Highlights intricate details |
If you are new to photography, you might want to look at the Best DSLR Cameras for Beginners. These cameras have features that make them easy to use and take great pictures. You can improve your skills and take beautiful pictures of products with these cameras. Best DSLR Cameras for Beginners.
Essential Lighting Techniques
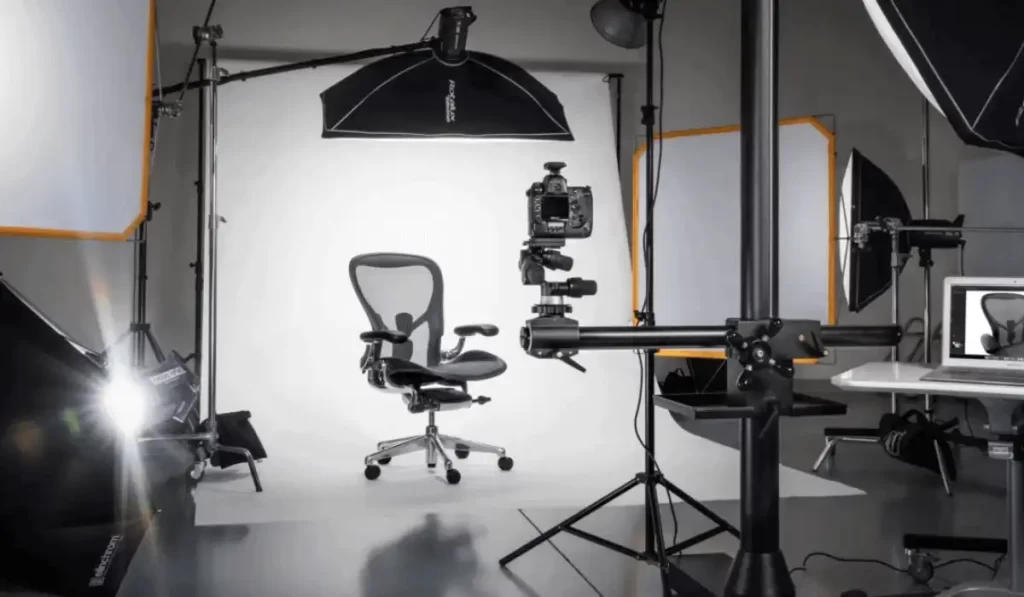
Lighting is very important when taking pictures of products. If the lighting is not right, it can hide small details on the object. On the other hand, if it is right, it will look great anywhere.
Natural Lighting
For lifestyle photos, especially of things like food, furniture, or clothes, natural light is best. It gives off a soft, warm glow that looks and feels natural.
- Soft and Warm: Perfect for lifestyle and outdoor shots.
- Budget-Friendly: Requires minimal equipment.
- Dynamic Range: Best used during daylight hours for optimal lighting.
Softbox Lighting
It is great for studio shoots because softbox lighting spreads out strong light and makes a soft, even glow. It gets rid of shadows and makes sure the product is lit properly.
- Even Illumination: Reduces shadows and highlights details.
- Control Over Lighting: We can do adjustments in brightness and direction.
- Ideal for Studio: Perfect for controlled environments with little natural light.
Ring Lighting
Ring lights are a common way to show off small items like jewelry, beauty products, and lip gloss. They give off a straight, even light that is useful for close-up photos.
- Uniform Light: Reduces shadows and provides focused light.
- Compact and Portable: Easy to set up in small spaces.
- Great for Close-Ups: Improves fine details and textures.
| Lighting Technique | Best For | Key Advantage |
| Natural Lighting | Lifestyle, outdoor shots | Soft, warm, and budget-friendly |
| Softbox Lighting | Studio shots, e-commerce | Even illumination with shadow control |
| Ring Lighting | Close-up shots, beauty products | Uniform light for detailed shots |
How to Do Business Online Product photography can help you sell a lot more by letting you catch the essence of your items through good lighting, angles, and composition. If you use these tips, you will get images that interest customers and get them to buy. Tips for E-commerce Product Photography.
Choosing the Right Background
When taking pictures of goods, the setting can have a big effect on how people see those goods. It can make the item stand out or blend in with its settings. Picking the right background can help draw attention to the item being sold.
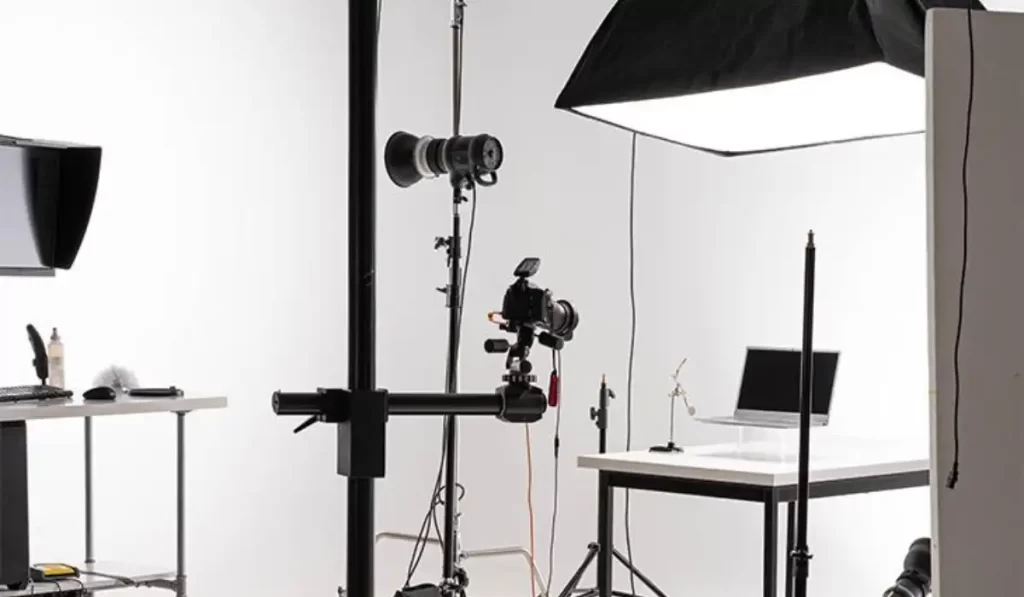
Solid Color Backgrounds
Solid color backgrounds, like black or white, are common in e-commerce because they make the product stand out without taking away from it. They are simple, but they work well to draw attention to the details of the object.
- Clean and Simple: Allows the product to take center stage.
- Versatile: Works for a wide range of products.
- White Backgrounds: Commonly used in e-commerce to provide a neutral, clean look.
Textured Backgrounds
Backgrounds with different textures give product shots more depth and meaning. Things like food, furniture, and clothes can look better when they are made of materials like wood, fabric, or metal.
- Adds Depth: Gives the picture a more lively feel.
- Contextual Use: Works well for products like furniture or décor.
- Visual Interest: Textures make smooth goods stand out visually.
Environmental Backgrounds
For lifestyle photos, environmental backgrounds work really well. They tell a story and show how the product fits into the buyer’s life, whether it is a cozy house or a fun adventure outside.
- Tells a Story: Provides context for how the product is used.
- Engages Emotionally: Helps the viewer connect with the product.
- Versatile Settings: Can be indoors, outdoors, or location-based.
| Background Type | Best Use Case | Impact on Product |
| Solid Color Backgrounds | E-commerce, product catalogs | Keeps the focus entirely on the product |
| Textured Backgrounds | Fashion, furniture | Adds visual interest and depth |
| Environmental Backgrounds | Lifestyle photography | Adds context and emotional engagement |
Post-Production Editing
The post-production process is very important for improving and refining the product pictures after they have been taken. Editing means getting rid of flaws, adjusting lighting, and making sure the end photos look polished and professional.

Color Correction
Color adjustment makes sure that the picture shows the product’s real colors. Because of the lights, the camera may record colors incorrectly a lot of the time. Color correction can help fix this.
- Accurate Representation: Shows the product’s true color.
- Enhanced Visual Appeal: Adjusts colors to make them more vibrant.
- Consistency: Ensures all images have a uniform look.
Background Removal
Getting rid of the background is often done with clipping lines or masking. This makes sure that the object stands out against a clear background, which is often needed for e-commerce listings.
- Isolates Product: Removes distractions, keeping focus on the product.
- Flexible Use: Allows the product to be placed on any background.
- Professional Look: Creates a clean, polished final image.
Retouching and Sharpening
Retouching gets rid of flaws or imperfections, and sharpening makes the result clearer and more detailed. This helps a lot for close-up shots where small details are important.
- Blemish Removal: Ensures the product looks flawless.
- Enhanced Detail: Sharpens the image to highlight textures and materials.
- Professional Finish: Gives a high-end, polished look.
| Editing Technique | Key Purpose | Benefits |
| Color Correction | Ensure true color representation | Accurate and vibrant images |
| Background Removal | Isolate product from background | Clean and professional appearance |
| Retouching & Sharpening | Enhance image clarity and detail | Flawless, polished final image |
Product Photography for Different Industries
Product photography can be done in a lot of different ways, based on the business and the type of product being photographed. To best show off its products, each business has its own needs and ways of doing things.
Fashion and Apparel Photography
To take pictures of clothes, shoes, or items that look good, fashion photographers need to know a lot about style, lighting, and composition. Often, this includes both studio and real-life photos.
- Studio Shots: Highlight details, texture, and fabric.
- Lifestyle Shoots: Show how the clothes fit and move in real-world settings.
- Model Photography: Adds a human element, showing how the product looks when worn.
Food and Beverage Photography
Making food look good is what food photography is all about. Often, this means using certain lights and props to make the colors, textures, and look of the food or product stand out more.
- Lighting: Soft, natural lighting helps highlight the textures and colors.
- Props and Styling: Plates, utensils, and napkins can enhance the visual appeal.
- Close-ups: Macro shots are often used to capture the fine details of the food.
Electronics and Gadgets Photography
For electronics, you need clear, sharp pictures that show off the design, buttons, and screens. Taking pictures of these things in a studio with controlled lighting to get rid of shadows and reflections is often best.
- Studio Lighting: Avoids glare on screens and reflective surfaces.
- Detailed Close-Ups: Focuses on important features like buttons, ports, and screens.
- Minimalist Backgrounds: Keeps the focus on the product’s design and features.
| Industry | Photography Focus | Key Techniques |
| Fashion & Apparel | Fabric, style, fit | Studio shots and lifestyle photos |
| Food & Beverage | Texture, colors, presentation | Props, close-ups, and soft lighting |
| Electronics & Gadgets | Design, features, functionality | Studio lighting and detailed close-ups |
Challenges in Product Photography
It can be hard to take good pictures of products. Every photoshoot has its own problems that need to be solved by thinking outside the box and being creative.
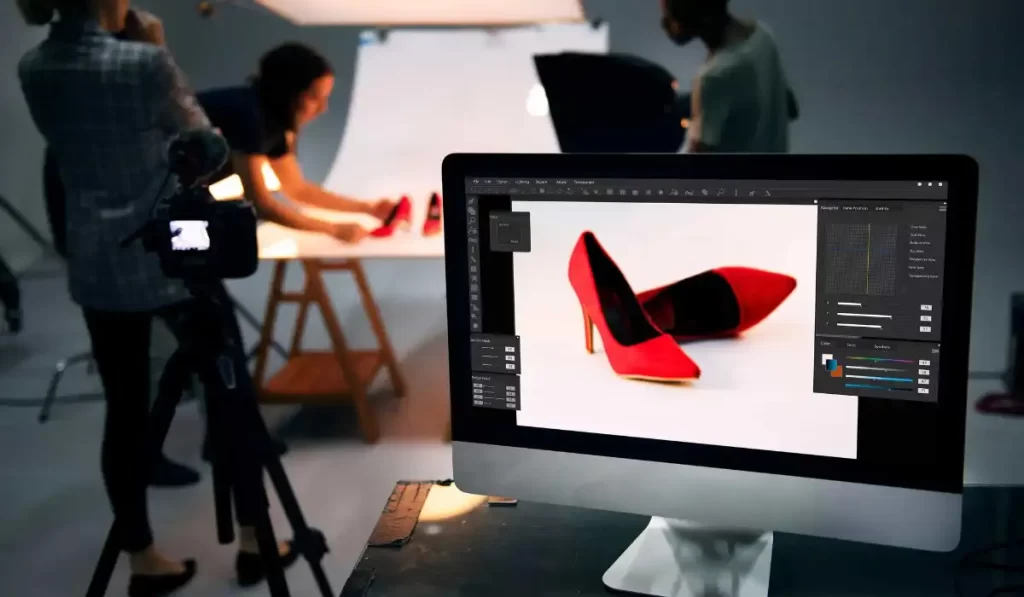
Managing Reflections
When taking pictures of things like jewelry, electronics, or glassware that have shiny or reflecting surfaces, reflections are common. These effects can make the product itself look less interesting and hurt the quality of the picture.
- Use of Diffusers: Diffusers help soften the light and minimize reflections.
- Angle Adjustments: Changing the angle of the product can reduce reflections.
- Post-Production Fixes: Editing tools can help remove unwanted reflections or glare.
Lighting Adjustments
Lighting that is not right can either make the object look dull or create harsh shadows that take away from the image. Getting the right amount of light is important for showing off the goods correctly.
- Experimenting with Light Sources: Use a combination of natural and artificial light.
- Softboxes and Reflectors: These tools help diffuse harsh light and fill in shadows.
- Light Positioning: Adjusting the light’s angle and intensity can make a huge difference.
Capturing Consistency
When a business needs a lot of product shots, it can be hard to make sure that all of the pictures look the same. For a book to look good, the lighting, angles, and background must all be the same.
- Use a Standard Setup: Always use the same lighting, camera settings, and background.
- Catalog Templates: Create templates for product positioning and framing.
- Post-Processing Consistency: Apply the same editing style to all images for uniformity.
| Challenge | Problem | Solutions |
| Managing Reflections | Reflections on shiny surfaces | Diffusers, angle adjustments, post-editing |
| Lighting Adjustments | Harsh shadows or overexposure | Softboxes, reflectors, repositioning |
| Capturing Consistency | Inconsistent product images | Standard setups, templates, editing uniformity |
Importance of Camera Settings
Understanding and mastering camera settings is crucial in product photography, as incorrect settings can lead to blurry, overexposed, or underwhelming shots.
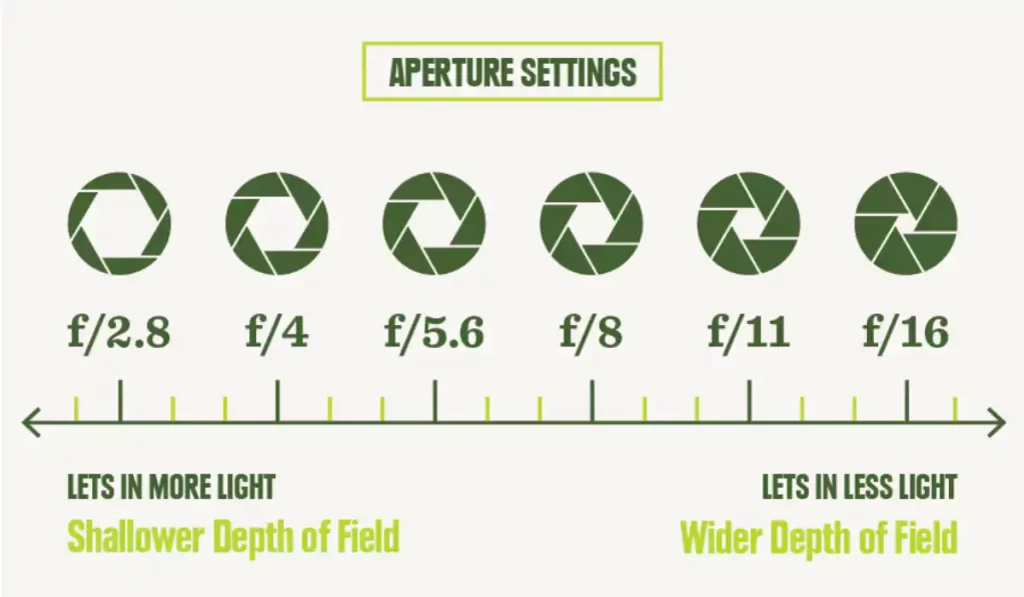
Aperture Settings
The amount of light that gets into the camera lens is controlled by the aperture. A smaller aperture (a higher f-stop number) makes sure that the whole product is in focus, which makes the features stand out more.
- F-Stop Adjustments: Use higher f-stop values (e.g. f/8 to f/16) for sharper focus.
- Control Depth of Field: A smaller aperture keeps the background blurred and the product in focus.
- Ensures Product Clarity: Perfect for showcasing intricate details.
Shutter Speed
The shutter speed determines how long the light hits the lens of the camera. When taking pictures of things, especially in a studio with fixed lighting, a fast shutter speed is best.
- Faster Shutter Speeds: Avoids motion blur, keeping images sharp.
- Balance with Aperture: Faster shutter speeds may need adjustments in aperture to maintain proper exposure.
- Best for Static Objects: Ideal for studio setups with controlled lighting.
ISO Settings
ISO controls the camera’s sensitivity to light. A lower ISO setting is generally preferable in product photography to avoid graininess in the image.
- Low ISO Settings: Stick to ISO 100 or 200 for crisp, clear images.
- Reduces Noise: Ensures smooth, clean shots without grain.
- Works Best with Proper Lighting: Adequate lighting allows for lower ISO and better quality.
| Camera Setting | Key Function | Ideal Use Case |
| Aperture (f-stop) | Controls depth of field and focus | High f-stop for sharper product focus |
| Shutter Speed | Controls motion blur | Faster speed for sharp, static shots |
| ISO | Controls image sensitivity to light | Low ISO to reduce noise and grain |
At The End
To sum up, product photography is an important part of showing the product from different angles, increasing sales and improving the image of a brand.
Businesses can make images that get people’s attention and connect with them by learning the right skills and using the right tools. Product photography can be hard, but good pictures have obvious benefits. Such as,
- Building trust with customers,
- Making your business more visible online and
- Giving it a polished, professional look.
Getting good pictures of your products is important for your business.
FAQs
What is needed for product photography?
1. A quality camera with manual settings
2. Proper lighting equipment (softboxes, natural light)
3. A tripod for stability
4. Background options like white or black
5. Editing software for post-production
6. Props to enhance the visual appeal
These essential tools ensure your product photos are professional and eye-catching.
Is product photography hard?
1. It can be challenging due to lighting and composition.
2. Requires technical knowledge of cameras and lenses.
3. Post-editing skills are essential.
4. Attention to detail is crucial for high-quality images.
5. Experience with different products and angles is
6. With practice and the right equipment, the process becomes easier over time.
What are the benefits of a good product photo?
1. Enhances product visibility and appeal.
2. Builds trust with potential customers.
3. Boosts sales by providing detailed views.
4. Strengthens your brand’s image and professionalism.
5. Helps improve online listings and marketing efforts.
Good product photos make your products stand out and encourage customers to buy.
What does clipping mean in photography?
1. Refers to areas in the photo that are too bright or dark.
2. Clipped highlights lose all detail in bright areas.
3. Clipped shadows result in detail loss in dark areas.
4. Often indicates overexposure or underexposure.
5. Post-production can fix minor clipping issues.

