How to retouch photos with experienced photographers who modify ordinary photos into amazing works?
Simple photos may be transformed using photo retouching. Use expert editing tools like color correction, defect removal and exact detailing to produce professional results. Use creativity, improve image quality and make your images great to add it in your portfolios.
Table of Contents
How does retouch work in photos?
Photo editing is a process that improves the quality and attraction of pictures by fixing flaws and making elements look better. Advanced editing methods, like pixel-level changes, color grading, and texture fixing, are used in the process.
Here’s how it works:
- Analyzing the Image: Take a closer look and analyze the image where corrections are needed like marks, lighting adjustments or object distractions.
- Adjusting Tone and Exposure: Curves and levels balance brightness and contrast to maintain that natural depth and clarity in the image.
- Color Correction: Unnatural tones are adjusted using a color balance or hue/saturation adjustment layer which can give the photo a consistent, photogenic look.
Learn how to photo retouch with advanced editing tools to remove imperfections. Discover how to use retouching in photos to refine textures, adjust colors and create image, professional-grade results.
How to retouch photos for free?
Photo retouching with advanced software like Adobe Photoshop or Lightroom by balancing the colors, getting rid of flaws and smoother. Professional-quality results are achieved by using methods like frequency separation, curve changes and sharpening.
At Cutout Image Media, we do professional photo editing to make your pictures look as good as you want. If you’ve never used our services before, we’ll edit your photos for free as a welcome gift or to show how good we are.
How long does it take to retouch a photo?
How long it takes to fix a photo depends on how many changes need to be made. Simple changes, like fixing the colors or getting rid of blemishes, can take 5 to 15 minutes per picture. More complex editing, like changing the background or finetuning the textures, can take 30 minutes to an hour or more.
When you work with Cutout Image Media, we know how important time and quality are. Our skilled team uses Adobe Photoshop and other standard tools in the field to get fast, accurate, and professional results. We even offer free picture editing to first-time customers to show how good we are and make sure they are happy.
How to use photo retouch app?
To use a photo edit app, you need to load a picture and then use tools to fix it, such as healing brushes, skin smoothers and colour adjustments. Use AI-powered tools for edits, change the contrast and colour to add depth and export in high definition. Professional-quality results can be found in advanced apps for layers and blurring.
Steps on photo retouch app
| 1 | Step 1 | Download and Install the App: First, download a reliable photo retouching app (e.g. Photoshop Express, Snapseed, Facelab). |
| 2 | Step 2 | Import Your Photo: Open the app and click on the “Import” or “Upload” button. |
| 3 | Step 3 | Adjust Brightness and Contrast: Use the “Brightness” and “Contrast” sliders to adjust the overall lighting of your photo. |
| 4 | Step 4 | Remove Blemishes or Imperfections: Photo retouch apps have a “Healing” or “Spot Removal” tool. Use this tool to tap on or brush over blemishes, acne, scars, or other imperfections. |
| 5 | Step 5 | Smooth the Skin (if needed): Use the “Smoothing” or “Skin Retouch” tool to even out skin tone and texture. Be cautious not to overdo it. |
| 6 | Step 6 | Improve Colors: Use the “Saturation”, “Vibrancy” or “Color Adjust” tools to fine-tune colors. You can adjust the warmth, coolness or specific hues. |
| 7 | Step 7 | Sharpen and Add Detail: Use the “Sharpen” tool to improve details and make your image look crisper. |
| 8 | Step 8 | Apply Filters (optional): Many apps provide built-in filters that can transform the overall look with a single tap. |
| 9 | Step 9 | Crop and Adjust the Composition: Use the “Crop” tool to remove unwanted areas. |
| 10 | Step 10 | Save and Export Your Photo: Once you’re done with the retouching, save your photo by tapping the “Save” or “Export” button. |
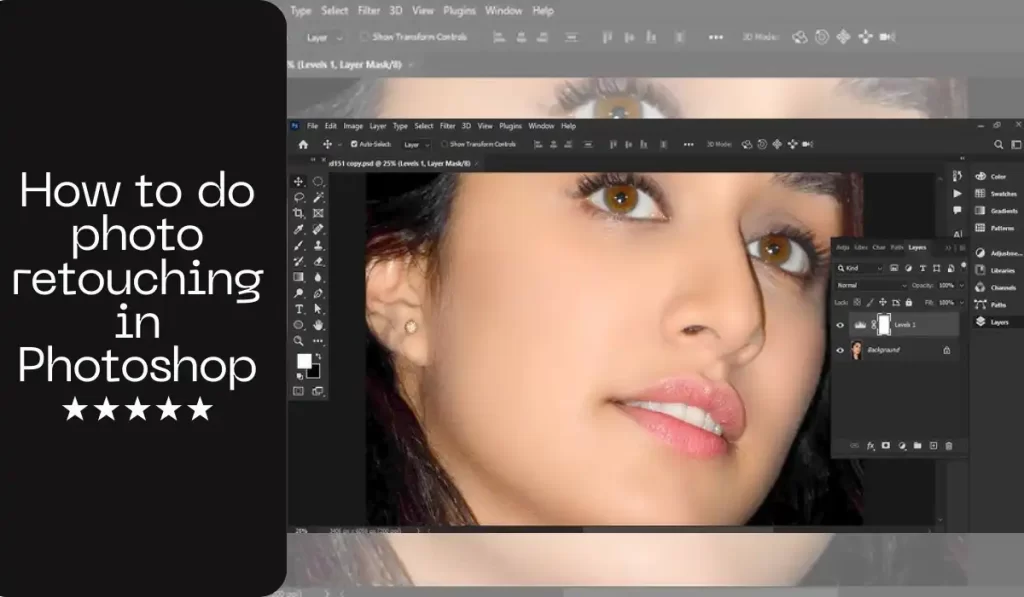
How to do photo retouching in Photoshop?
When you edit photo in Photoshop, you use advanced tools like the Healing Brush, Clone Stamp, and Content-Aware Fill. Frequency separation, curves changes, and layer masks are some of the techniques that can be used too, like getting the best brightness, sharpness, and colour balance.
If your thinking how to professionally retouch photos using photoshop or how to learn photo retouching Steps, then Photoshop have several steps to retouch the image and remove imperfections.
Whether you’re working on portraits, landscapes or jwelley retouching, the tools and techniques all have in Photoshop. Here’s a step-by-step guide on how to photo retouch in Photoshop:
Start with a High-Quality Image
To get the best results, begin with a high-resolution photo. If your photo is too small or grainy the work will be imperfect.
Open Your Image in Photoshop
Launch Photoshop and open the image. Duplicate the background layer (Ctrl + J) to preserve the original image and work on the copy.
Remove Imperfections with the Healing Brush and Clone Stamp
Use the Healing Brush Tool (J) to remove any unwanted blemishes or imperfections from the image. This tool blends the surrounding pixels, fixes like acne, dust spots or wrinkles. For more complex areas, use the Clone Stamp Tool (S).
Soften Skin and Smooth Details
To professionally retouch photos, you may need to smooth out skin textures. Use the Frequency Separation technique to separate details from textures for smoother, more natural-looking skin without losing detail.
Adjust the Lighting and Contrast
One key step in how to retouch a photo is adjusting the exposure and contrast. Use adjustment layers like Curves or Levels to brighten shadows, deepen highlights and add contrast.
Colors and Correct Tones
Use the Hue/Saturation tool to adjust the colors of your image. If you’re willing colors more vibrant or correct skin tones, this is an essential step in how to retouch in photos. You can also use Selective Color for color control.
Sharpen the Image
Sharpen the image to make the details pop. Use the Unsharp Mask or Smart Sharpen filters.
Crop and Resize
Once your image editing is done you can crop to remove any distractions from the edges. Photoshop have several cropping guides, such as the Rule of Thirds grid.
Save and Export
After finishing your edits, save the file in PSD format to preserve layers. If you need to share or print, export the image in JPEG or PNG format at the desired resolution.
Now you understand the basics of how to use photo retouching. The more you familiarize yourself with Photoshop’s retouching tools like the Dodge and Burn, Content-Aware Fill and Patch Tool, the more professional and natural your retouched images will look. Hope that you got all you need to know on how to retouch photos in Photoshop.
How to retouch blurry photos?
Use advanced sharpening tools in Photoshop, like Smart Sharpen or Shake Reduction, to fix photos that are fuzzy. By improving edge sharpness and getting rid of motion objects, these methods cut down on blur. Use selective sharpness to keep the features and get rid of the noise.
Steps of retouch blurry photos
Open the Photo
Import the blurry image into Photoshop.
Duplicate the Layer
Press Ctrl + J to duplicate the original layer.
Apply the Sharpening Filter:
Go to Filter > Sharpen > Smart Sharpen or Filter > Sharpen > Shake Reduction to reduce blur.
Adjust Sharpening Settings:
Adjust the amount, radius and threshold.
Use the Camera Shake Reduction Tool:
If the blur is due to camera shake, apply the Shake Reduction tool from the Filter menu.
Fix Fine Details:
Use the Clone Stamp or Healing Brush to correct any areas, that may look unnatural.
Final Adjustments:
Tweak brightness, contrast and sharpness as needed.
Save the Image:
Once all done, save the retouched image in the as required format.
How to retouch old photos?
Use advanced sharpening tools in Photoshop, like Smart Sharpen or Shake Reduction, to fix photos that are fuzzy. By improving edge sharpness and getting rid of motion objects, these methods cut down on blur. Use selective sharpness to keep the features and get rid of the noise.
Steps on How to retouch old photos
Scan the Photo
Scan high resolution photos to preserve as much detail as possible.
Open in Editing Software
Import the scanned photo into your preferred photo editing software (Photoshop, Lightroom, etc.).
Repair Damage
Use the Healing Brush or Clone Stamp to fix tears, cracks or discoloration.
Adjust Colors and Tones
Use Brightness/Contrast or Curves to restore colors and exposure.
Remove Stains and Spots
Apply the Spot Healing Brush tool to remove spots.
Sharpen and Refine
Use the Sharpen filter or Unsharp Mask.
Save the Image
Save the image in a format like (e.g. TIFF or PNG).
How to retouch old photos in Photoshop?
Use the Spot Healing Brush and Clone Stamp tools in Photoshop to fix up old photos by getting rid of flaws and scratches. You can use Frequency Separation to smooth out your skin, Curves or Levels to change the tones, and Sharpening Filters to bring out the details.
Steps on How to retouch old photos in Photoshop
Open the Photo
Import the scanned old photo into Photoshop.
Duplicate the Background Layer
Press Ctrl + J.
Fix Tears and Blemishes
Use the Spot Healing Brush (J) or Patch Tool (J) to remove spots, cracks or scratches.
Color Correction
Adjust the color balance with Curves or Levels to restore colors.
Smooth Skin and Details
Use Frequency Separation for advanced skin smoothing or texture adjustments.
Sharpen the Image
Apply Smart Sharpen or Unsharp Mask to improve detail.
Save Your Work
Save the retouched image in PSD for future edits or JPEG/TIFF for sharing.
How to retouch photos in iPhoto?
Use the Spot Healing Brush and Clone Stamp tools in Photoshop to fix up old photos by getting rid of flaws and scratches. You can use Frequency Separation to smooth out your skin, Curves or Levels to change the tones and Sharpening Filters for better details.
Steps on How to retouch photos in iPhoto
Open the Photo in iPhoto
Launch iPhoto and open the photo you want to retouch.
Adjust Lighting
Use the Adjust panel to modify exposure, brightness and contrast.
Remove Imperfections
Use the Retouch tool to click over blemishes, spots or scratches.
Colors
Use the Enhance tool to automatically adjust the photo’s saturation and color.
Crop and Straighten
Use the crop tool to adjust composition/ straighten the image.
Save the Image
Once you’re happy with the adjustments, save the retouched photo.
How to retouch photos in Lightroom?
To fix up pictures in Lightroom, use the Develop section to make specific changes. Use Spot Removal to get rid of flaws, Graduated Filters to fix the brightness and HSL changes to fine-tune the colours. Use Sharpening and Noise Reduction to make images clearer.
Steps on How to retouch photos in Lightroom
Import the Photo
Open Lightroom and import your photo.
Adjust Basic Settings
Use the Basic Panel to adjust exposure, contrast, highlights, shadows and white balance.
Use the Spot Removal Tool
Select the Spot Removal Tool to remove blemishes or dust spots.
Fine-tune the Image
Adjust the Clarity and Texture sliders for details and smooth out skin or textures.
Enhance Colors
Use the HSL/Color panel to adjust individual colors like saturation, luminance and hue.
Sharpen the Image
Go to the Detail Panel to adjust sharpness and reduce noise.
Export the Photo
Export the image in your preferred file format.
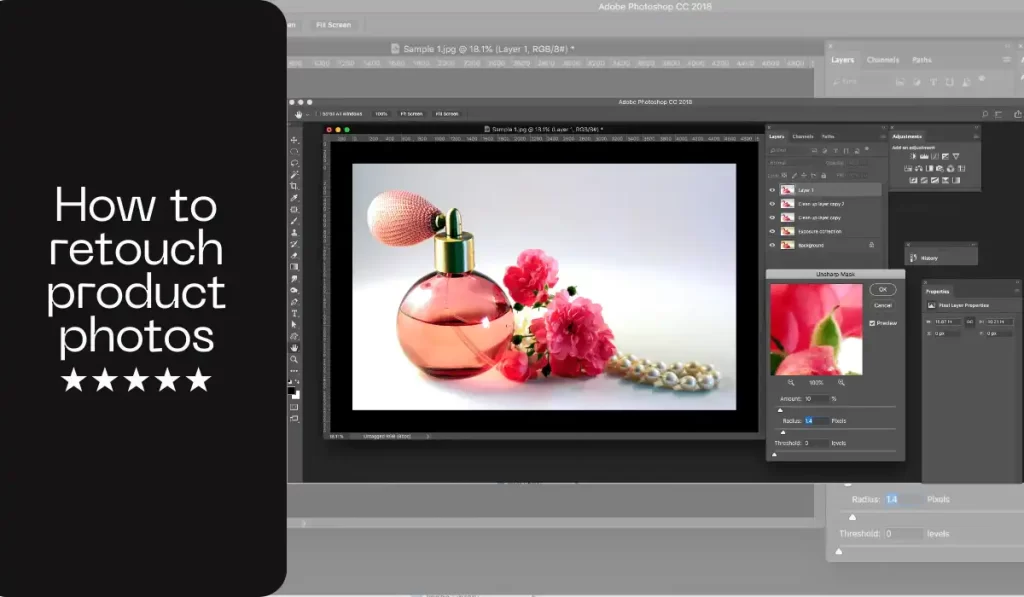
How to retouch product photos?
Use high-resolution shots with good lighting. To make sure your photos look professional, use tools in Photoshop or Lightroom like the Spot Healing Brush, the Clone Stamp, and the Adjustment Layers to fix colours, get rid of backgrounds, and bring out details.
Steps on How to retouch product photos
Shoot with Consistent Lighting
Begin with high-quality, well-lit product photos.
Open the Photo in Editing Software
Use Photoshop, Lightroom or GIMP.
Crop and Straighten
Adjust, crop and straighten the image to focus on the product.
Remove Background
If necessary, use the Quick Selection Tool or Pen Tool in Photoshop to isolate the product and remove the background.
Retouch Details
Use the Healing Brush or Clone Stamp to fix imperfections or dust on the product.
Adjust Colors and Brightness
Do color corrections and brightness adjustments.
Add Drop Shadows or Reflections
In Photoshop, create subtle drop shadows or reflections for a more professional look.
Sharpen
Sharpen the image.
Export and Save
Save the image for web or print in the desired format.
How to retouch photos in GIMP?
To fix up pictures in GIMP, make a copy of the layer so that you can change it without destroying it. You can fix flaws with the Heal Tool or the Clone Tool, change colours and brightness with Levels and Curves and make things sharper with Filters > Enhance > Sharpen.
Steps on How to retouch photos in GIMP
Open the Photo
Launch GIMP and load your photo.
Duplicate the Layer
Right-click on the layer and select Duplicate Layer.
Fix Blemishes
Use the Heal Tool or Clone Tool to remove blemishes or imperfections.
Adjust Levels and Curves
Use Colors > Levels or Colors > Curves to adjust brightness, contrast, and exposure.
Smooth Skin
Use the Gaussian Blur filter to smooth out skin or backgrounds. Apply a layer mask to keep the effect controlled.
Enhance Colors
Go to Colors > Hue-Saturation to adjust colors and saturation levels.
Sharpen the Image
Use Filters > Enhance > Sharpen to sharpen the image, but be careful not to overdo it.
Final Touches
Do anything that hasn’t been done yet like cropping or resizing.
Save the Image
Save your image in your preferred format.
At The End
How to retouch photos that have creative and professional possibilities. Improving and polishing photos is essential for creating great pictures, perfect portraits and effective ads. Combining technical abilities with art may improve projects, attract clients and build creative confidence. Start using these techniques right away and make this into a useful way of work when building your portfolio.