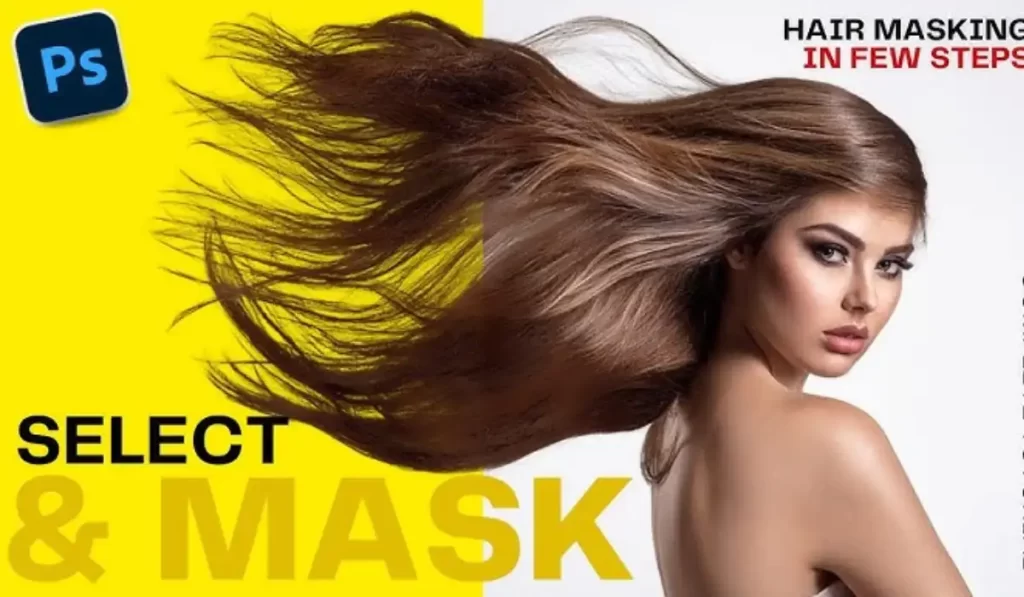
Your designs can gain depth, drama, and inventiveness from the use of photographic textures. Making textures into masks in Photoshop is one of the greatest ways to use them, allowing you to produce distinctive effects that really make your work stand out.
This detailed tutorial will assist you in mastering the technique regardless of your level of experience as a designer.
Table of Contents
Understanding Photographic Textures
Imagine you’re looking at a photo of a beach. Can you almost feel the sand between your toes? That’s because of textures!
Photographic textures are like the special ingredients that make a picture feel real.
They’re all the different surfaces and materials you can see in a photo, like the roughness of tree bark or the smoothness of a shiny car.
Think about the things you touch every day – wood, metal, fabric, even water! Each texture adds its own flavor to a picture, making it more interesting and fun to look at.
You can find textures everywhere! In nature, at home, or even at the park. Just take a closer look, and you’ll discover a whole world of textures waiting to be captured.
So, next time you’re snapping pictures with your camera, keep an eye out for those amazing textures. They’re like little treasures that can make your photos come to life with magic!
Steps of Turning Photographic textures into masks
You can do everything in Photoshop in different ways. You should not always try one approach to accomplish something.
You can find various methods of working, so that you can arrive at a point where you immediately know which technique is best.
Step: 1
A channel is fundamentally the same as in nature and also utilizes grayscale values.
The amazing part here is that one can transform a channel into a selection. That can obviously turn into a mask just in a single click.
Step: 2
In the next step, duplicate the channel. You can do it by hauling the channel to the little page-looking button, which is close to the base of the Channels palette (simply like duplicating a layer).
Step: 3
Select the new channel that you just made. Then play out a levels change that will crank the contrast.
Now adjust the contrast ratio depending on the impact that you’re going to use.
Step: 4
Since you have a great contrast ratio. So it’s an ideal opportunity to transform the channel into a selection.
This is truly simple: just command-click (Control on a PC) on the channel, Then it will bring up a live selection.
The shade of the pixels is being utilized to figure out what is chosen. So dark pixels won’t be selected however white pixels will be.
Step: 5
As we have an active selection now, you definitely know how to turn that into a mask.
We should simply choose our content layer. Then, click the little mask button which is at the bottom of the Layers panel.
Try not to stop there! Use various textures, toss in some layer effects, then you will see some more wonderful results.
This is how you can turn Photographic textures into masks using Photoshop.
Conclusion
You’ve unlocked the secret to turning ordinary pictures into extraordinary masks using Photoshop. Wasn’t that magical?
Now, don’t forget, the real magic happens when you let your imagination run wild. With your newfound skills, you can create endless wonders – from transforming into a superhero with a mask of your favorite animal to making your own enchanted world filled with dragons and unicorns.
So, keep practicing, keep exploring, and most importantly, keep having fun! Who knows what amazing creations you’ll conjure up next? Remember, the power of creativity is in your hands.
Until our next magical adventure, keep dreaming, keep creating, and may your world always be filled with wonder and enchantment! Farewell, my fellow wizards and sorceresses!
FAQs
1. What is a texture in Photoshop?
A texture in Photoshop refers to a graphic or image, often a photograph, that simulates the look and feel of a surface. Common examples include wood grain, grunge patterns, or fabric weaves. These textures can be used to enhance designs or photos by adding depth and realism.
2. Why use textures as masks in Photoshop?
Using textures as masks allows you to create unique effects, such as selective transparency, blending, or stylized overlays. It’s a powerful technique for adding depth, drama, and artistic flair to your images or designs.
3. Do I need a specific type of texture for masking?
No, you can use any photographic texture. However, high-contrast textures (like grunge, scratches, or bold patterns) often produce more dramatic and defined effects when used as masks.


