No need to think about, how to turn a portrait into line art.
Making images into line art gives painters a lot of new ways to express themselves, whether they want to add a stylized look to photos or improve existing works. This method easily catches small details, which makes pictures great for prints, logos or digital art.
Table of Contents
Step-by-Step Guide to Turn Picture into Black and White Line Drawing Photoshop
Step 1: Import Your Image
- Get your picture: Bring up Photoshop and add the picture you want to change.
- “Duplicate Layer”: To keep the original picture, right-click on the background layer and choose “Duplicate Layer.” You can easily turn a photo into a line drawing in Photoshop using layer blending and adjustment tools. The color correction makes sure images look natural and balanced by adjusting hues, brightness and contrast.
Step 2: Convert Image to Grayscale
- Make a layer for grayscale adjustments: To change the picture to black and white, go to Layer > New Adjustment Layer > Black & White.
- Make changes to the grayscale settings: You can change the tools to improve the image’s brightness and features.
- Another way is to use the Channel Mixer: Layer > New Adjustment Layer > Channel Mixer can give you more power over your grayscale conversion. Check the “Monochrome” box in the Channel Mixer window and change the red, green, and blue output channels to make your own black-and-white effect that brings out certain color ranges in your picture. Compared to the regular Black & White adjustment layer, this method lets you make a more unique look.
Step 3: Adjust Image Contrast
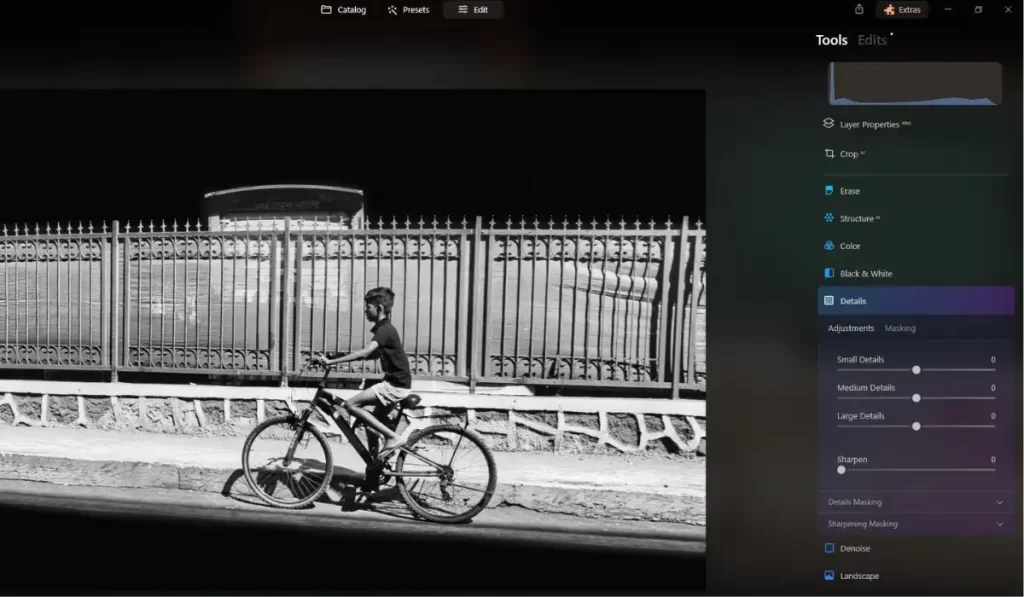
- To use the Curves Adjustment, go to Layer > New Adjustment Layer > Curves. To make the contrast stronger, move the curve to make the darks darker and the lights brighter.
- Increase Brightness: Make small changes until the details are easy to see.
Another way is to use Levels Adjustment
- Press Layer, then New Adjustment Layer, and finally Levels.
- In the Levels box, you can change your image’s shadows, mid tones and highlights by moving the black, grey and white buttons.
- It’s possible to finetune the sound range with this method, which can sometimes lead to a more balanced result than the Curve change.
Step 4: Create the Line Drawing Effect
- Use the Filter to Find Edges: Select Style > Find Edges from the menu. This will give your picture an outline look.
- Flip the Colours: To make a clearer line drawing, press Ctrl + I (Windows) or Cmd + I (Mac) to flip the colors of the picture.
- Change the Contrast Levels: Go to Image > Adjustments > Levels to make changes. You can use the tools to make the lines stand out more against the background, which will make the edges look sharp. Convert your photo to line drawing by using filters like Sketch or Graphic Pen.
- Use an adjustment for thresholds: Click Image, then Adjustments, then Threshold. You can make the lines in your drawing stand out by moving the scale until you get a stark black-and-white effect.
- For touch-ups by hand, use the Brush Tool: Pick up the Brush Tool (B) and pick out a small, rough brush. Trace over by hand any areas that need more definition or repair to give your line drawing more depth. Product photography shows items in the best light, improving customer engagement and conversions.
Step 5: Refine the Lines
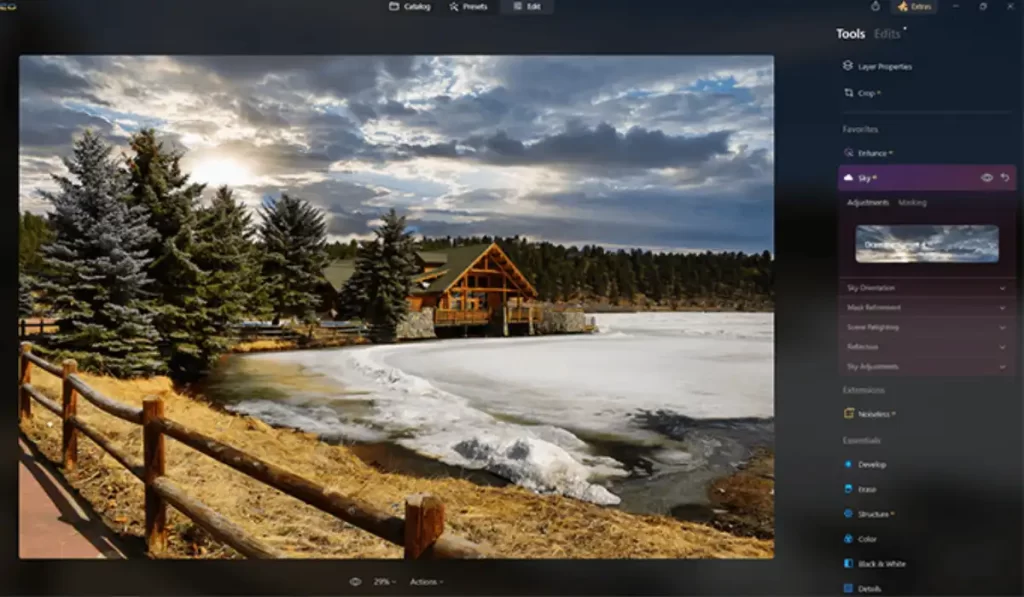
- Blur: If the lines are too sharp, use Gaussian Blur (Filter > Blur > Gaussian Blur) to make them less sharp.
- Change Layer Opacity: Make the layer less opaque to make it fit in better with the picture below it.
- Try the Smudge Tool. To make the shift easier, choose the Smudge Tool from the menu and slowly drag over the edges of the lines. This method can help smooth out rough edges and make the line workflow better overall.
- Add a Layer Mask: To do this, go to Layer > Layer Mask > Reveal All and make a layer mask for your line layer. Then, use a soft brush with low brightness to paint over places you want to make more clear or less clear. This gives you more exact control over how the lines blend into the background.
- Test out different blending modes. In the levels box, change the blending mode of the line layer to see how it affects the levels below it. Using modes like “Multiply” or “Overlay” can make cool effects that make your lines blend better with the picture below.
Step 6: Add Thickness to Lines
- Change mixing Mode: To make the lines stand out more, change the layer mixing mode to “Multiply.”
- To use the Stroke Layer Style, right-click on the layer and pick “Blending Options.” Adding a stroke will make the lines stand out more.
- Use a Duplicate Layer: To make the line drawing even thicker, duplicate the layer with it (Ctrl + J or Command + J). Then, you can move the copy layer slightly to the side to make the line effect stand out more, which gives the art more depth.
- Use the Brush Tool: Press B to bring up the Brush Tool menu and pick a soft, round brush with a bigger width. You can paint along the edges of the lines to make them thicker by hand. This gives you more freedom in how the lines look in some places.
- Path Tool: To use paths to make lines, change the width of the path and then choose the “Stroke Path” choice. This lets you change the brush settings for the line, giving you more options for thickness and style.
Step 7: Final Adjustments
- Zoom in to see more: Use the Zoom tool to look for places that need more detail.
- Get rid of unwanted artifacts: To get rid of any stray marks or extra lines, use the Eraser Tool.
Step 8: Export Your Line Drawing
- Save Your Work: When you’re done, save your picture in the format you want (for example, PNG for transparency, JPEG for regular use).
- Think About Different Formats: If you need to use it with different programs, export it in different forms. Product photo editing refines images to make them look attractive, reduce flaws and improve clarity.
Cut out image media helps separate subjects from backgrounds to improve image for professional use.
Tools and Packages for Line Art Image Editing in Photoshop
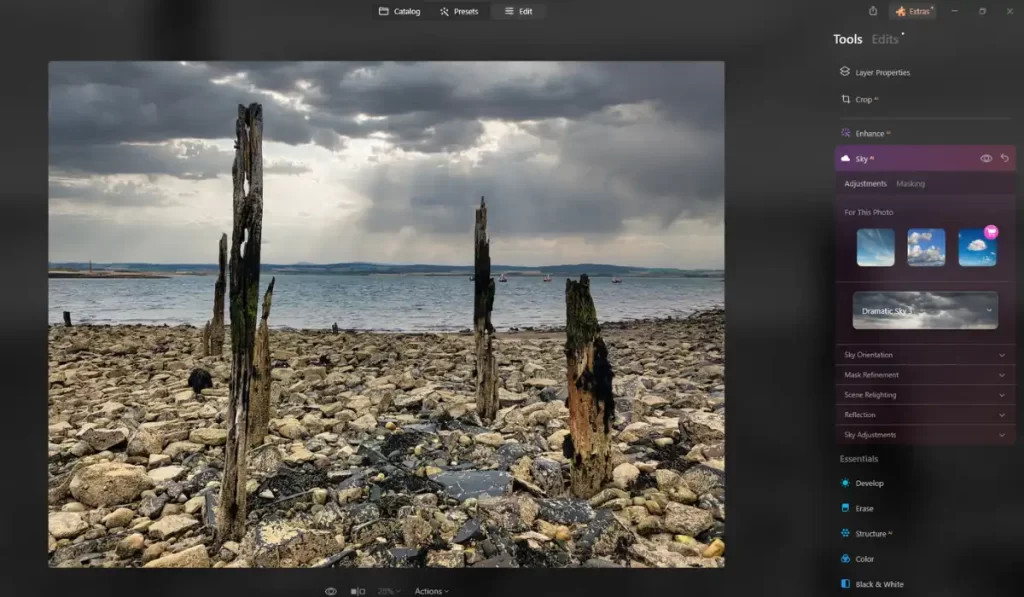
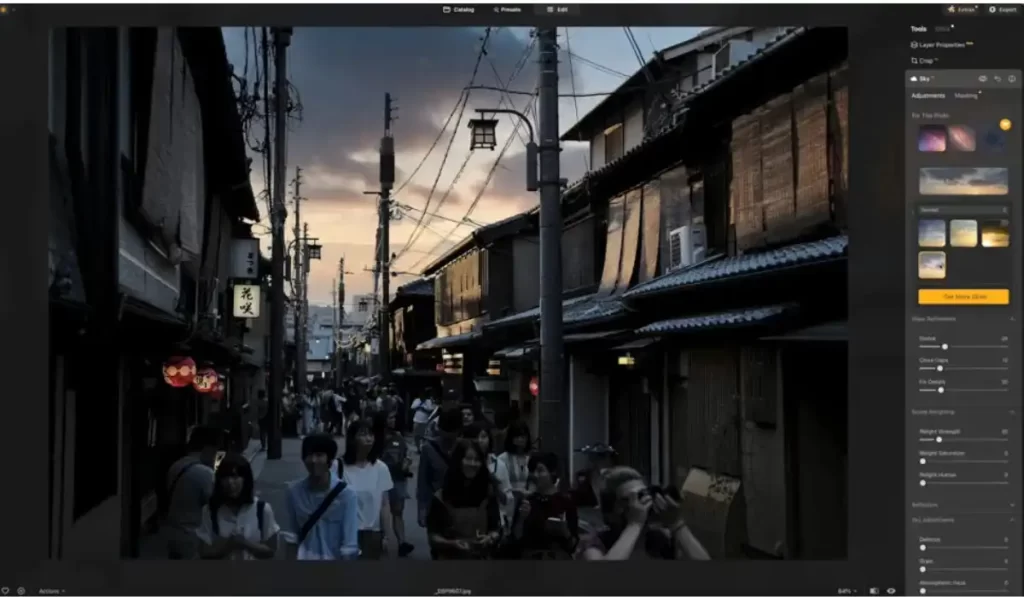
Topaz Labs Studio 2
- Link: Topaz Labs Studio 2
- Workability: provides advanced AI-powered tools for improving pictures, such as sharpening, noise reduction, and creative effects that can be especially helpful for making line drawings look better.
- How to Use/ How to Make a line drawing from a photograph: Use the “Adjust” tool to make your image’s color and clarity better. To make a simple line drawing effect, use the “Line Art” tool. Change the settings to get the exact thickness and type of the lines you want, and in Photoshop, use layers to mix them.
Nik Collection by DxO
- Link: Nik Collection
- Workability: A group of creative apps that give you strong editing tools for changing colors, getting rid of noise, and turning images into black and white, which can make your line art look better.
- How to Use/Photoshop Picture to Line Drawing: To get to the Nik Collection, open your picture in Photoshop and go to the effects menu. To get rid of details, use “Colour Efex Pro,” and then for a black-and-white look, use “Silver Efex Pro.” Change the contrast to bring out the lines, and then use a mask to smooth out the edges.
AKVIS Sketch
- Link: AKVIS Sketch
- Workability: Known for turning photos into pencil sketches and drawings. It has choices that let you change line width and coloring, which makes it great for making detailed line art.
- How to Use/Turn Photo into Outline: You can use AKVIS Sketch as a stand-alone program or as a tool to add your picture. You can pick a pencil or watercolor style and change the settings to change the thickness and smoothness. You can save the result and then bring it into Photoshop to make more changes.
Adobe Fresco
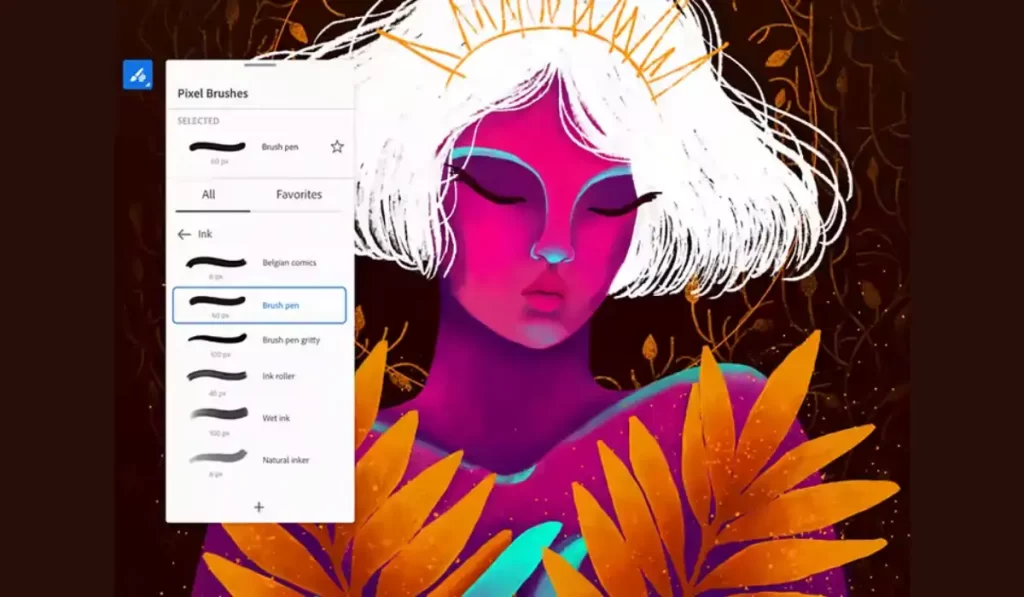
- Link: Adobe Fresco
- Workability: An app for painting and drawing that works well with Photoshop. It has vector tools and makes it easy for artists to make line art that can be brought into Photoshop to be changed further.
- How to Use/Turn Picture into Line Drawing: You can paint your picture with Fresco’s live brushes, which look like different kinds of tools. You can make a basic drawing with the “Sketch” tool and then send it to Photoshop to improve it and make changes to the layers.
Clip Studio Paint
- Link: Clip Studio Paint
- Workability: It is known for having powerful drawing tools that let you make line art and images that can then be sent to Photoshop to be finished.
- How to Use/Turn Photo into Line Art: Bring in your picture and make vector lines with the “Lineart” tool. Set the settings for line quality, and then use more brush tools to make the drawing even better. When you’re done with Photoshop, export your picture.
Affinity Photo
- Link: Affinity Photo
- Workability: It is a cheap option to Photoshop that has tools for changing line art and making backgrounds visible, so it can be used for many picture editing jobs.
- How to Use: To add a sketch effect, go to the “Filters” menu. Change the filter settings to make the picture look like line art, and then use the “Refine” tools to make it look better. You can send the finished item to Photoshop so that layers can be added.
PaintTool SAI
- Link: PaintTool SAI
- Workability: Lightweight digital drawing software with great brush settings for making line art that can then be improved in Photoshop.
- How to Use: You can use the pen tool to make precise lines after importing your picture. You can change the brush’s pressure sensitivity to make lines of different thicknesses. Make a copy of the lines and bring them into Photoshop to finish them off.
Corel Painter
- Link: Corel Painter
- Workability: It has a lot of brushes and other tools made just for artists. Perfect for giving photos a painted or sketched look that goes well with changes made in Photoshop.
- How to Use: Open your picture and pick a brush that looks like a real art tool. To make lines, use brushes from the “Sketch” or “Ink” group. You can export the picture to Photoshop to make more changes.
Bristol
- Link: Bristol
- Workability: A vector drawings program that lets you make and change exact line art and is easy to connect to Photoshop processes.
- How to Use: Because this tool can work with vectors, you can load your picture and use vector tools to draw over it. You can change the line’s width and smoothness, and then export them to Photoshop to make any last changes.
ArtRage
- Link: ArtRage
- Workability: It’s a fun way to make line art before loading it into Photoshop because it gives you a unique drawing experience with tools that look like real art supplies.
- How to Use: You can paint your picture with ArtRage’s built-in media tools. You can use the pencil tool to make line art styles and add effects. You can export your picture to Photoshop to make more changes.
| Tool | Ease of Use | Line Quality | Filter/Effect Variety | Integration with Photoshop |
| Topaz Labs Studio 2 | Easy | High | Moderate | Yes |
| Nik Collection by DxO | Moderate | High | High | Yes |
| AKVIS Sketch | Easy | Moderate | Limited | Yes |
| Adobe Fresco | Moderate | High | High | Yes |
| Clip Studio Paint | Moderate | Very High | Moderate | Yes |
| Affinity Photo | Moderate | High | Moderate | Yes |
| PaintTool SAI | Easy | High | Moderate | Yes |
| Corel Painter | Moderate | High | High | Yes |
| Bristol | Moderate | High | Limited | Yes |
| ArtRage | Moderate | High | Moderate | Yes |
AI Tools for Line Art
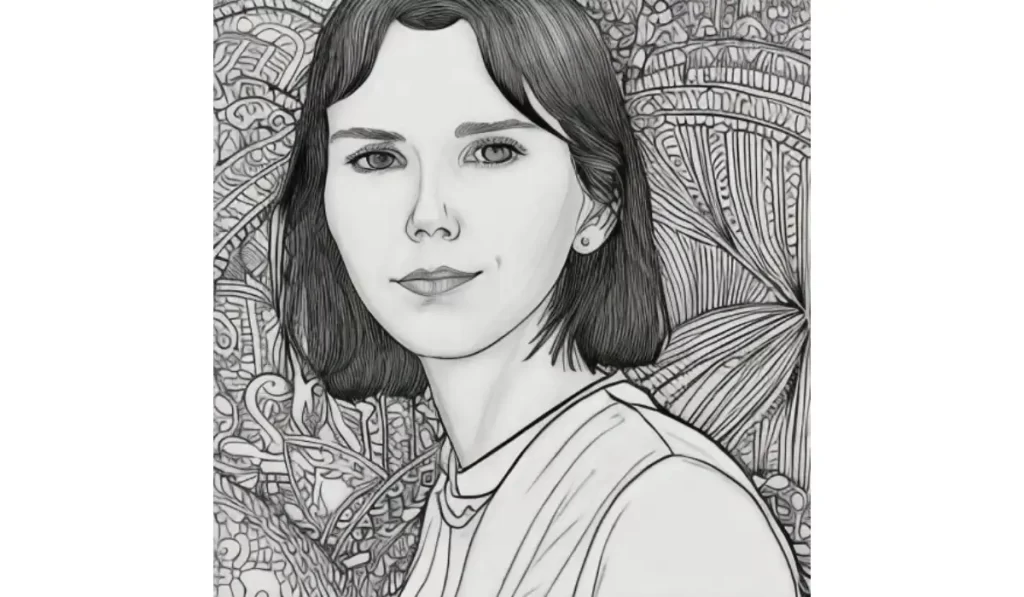
- Deep Art Effects: This app uses AI to change pictures into different types of art, such as line art. This AI generator lets you turn photo to line drawing as well as pencil sketches and anime portraits 100% automatically.
- Artbreeder lets users combine pictures and make new works of art, such as sketches.
- Deep Dream Generator: This tool can turn pictures into different kinds of art, like line drawings.
At The End
Turning a portrait into line art helps you try out different styles while keeping the main idea of the original picture. It’s a fun and open way to use old photos in new ways, whether for personal projects, branding or modern digital platforms. Line art can help you be more creative way, whether you want to keep things simple or add color.
FAQs
Why should I turn a portrait into line art?
If you turn a photo into line art, you get a simple but beautiful copy of the original picture that works well for logos, digital art or personalized gifts. It also adds a new, creative touch to photos that makes them pop out on the market or social media.
What tools or software can I use to create line art from a portrait?
You can use Adobe Photoshop, Illustrator, and Procreate to turn photos into line art. You can also get great results for beginners with free software like GIMP or online apps like Fotor.
Can I use line art in commercial projects?
Yes. Line art can be used for branding, paintings, and digital goods that are sold for money. But it’s important to make sure that the original picture has the right approvals to be used for business purposes.
How can I add color to my line art?
Adding color is easy with software like Photoshop. Just put the color layer below the line art layer. You can try solid fills or patterns to make the art stand out and look more colorful.
What is the best resolution for line art?
For sharp, detailed results, aim for at least 300 DPI (dots per inch) when creating line art. This resolution ensures high-quality prints and professional-looking digital designs.

