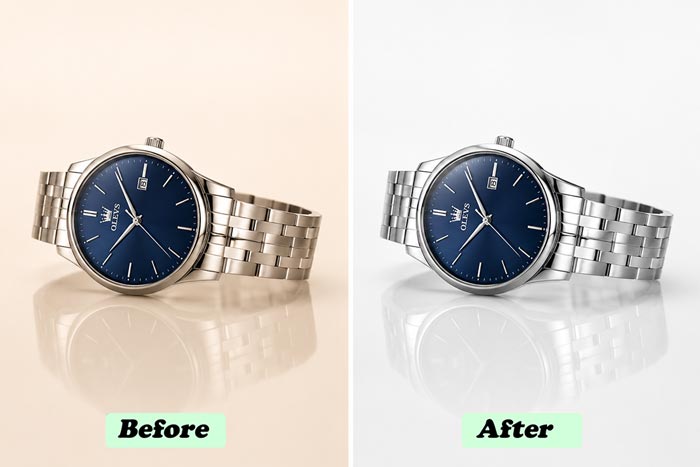

There is no single “remove reflection” button that looks real every time. The best approach depends on the surface and how strong the reflection is. Below are the most reliable Photoshop methods used for product retouching.
Method 1: Reduce Reflection With Curves And Masking
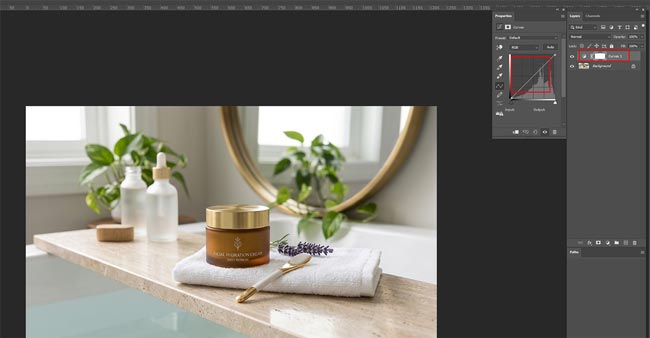
This is the cleanest starting method because it keeps the original texture and avoids plastic-looking results.
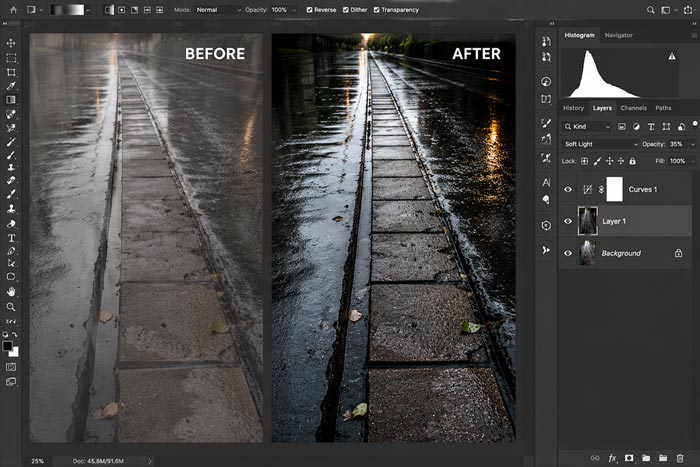
Create a Curves Adjustment Layer. Pull the curve slightly down to darken the reflection area, or adjust the midtones until the hotspot reduces. Now invert the mask (Ctrl/Cmd + I) so the adjustment disappears. Paint with a soft white brush on the mask only where the reflection is visible.
If the reflection is bright and blown out, you may need two Curves layers, one targeting highlights and another targeting midtones. Keep the brush flow low (around 5% to 15%) and build the correction gradually. This is the difference between “natural retouch” and an obvious patch.
A simple trick that helps a lot is changing the blend mode of the Curves layer. Try Luminosity to affect brightness without shifting color. If you notice color shifts, this usually fixes it instantly.
Method 2: Clone Stamp And Healing For Small, Busy Reflections

For small reflections or messy highlights (like tiny window grids on metal), use texture-based tools.
Create a new blank layer and set it to “Sample: Current & Below.” Use Healing Brush first for soft blending, then Clone Stamp for more control. For glossy products, keep Clone Stamp opacity low and sample frequently, or the retouch will repeat patterns.
If the surface has a clear gradient (common on bottles and curved plastics), avoid cloning across the gradient line. Clone within the same tonal area, then blend transitions with a soft mask or gentle healing.
Method 3: Frequency Separation For Tough Surfaces (Glass, Skin-Like Plastic, Polished Metal)
Frequency Separation is not just for portraits. It is one of the best ways to remove reflections while keeping surface texture.
In short, you separate the image into two layers: one for texture (high frequency) and one for color and tone (low frequency). You then fix reflection tone on the low layer without damaging texture.
Here is a practical workflow:
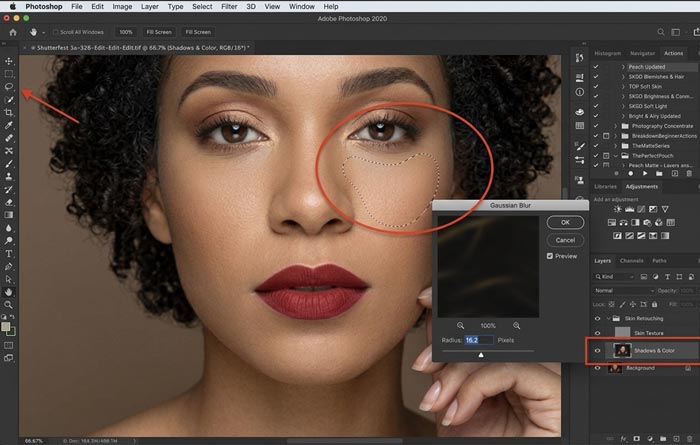
First, duplicate your base layer twice. Name the bottom duplicate “Low” and the top duplicate “High.” Turn off “High.” Select “Low,” apply Gaussian Blur until texture disappears but shapes remain (often 4 to 10 pixels depending on resolution). Now turn on “High,” select it, go to Image > Apply Image. Choose the “Low” layer as the source, blending as Subtract (for 16-bit) or Add (for 8-bit), then set the “High” layer blend mode to Linear Light.
Now you can use Lasso Tool on the “Low” layer, feather around 20 to 40 pixels, and gently smooth reflections with a soft brush or by applying a small blur inside selected zones. For stubborn bright areas, use a Curves adjustment clipped to the “Low” layer and paint precisely.
Frequency separation should still respect the product’s natural lighting. You usually want to reduce ugly reflections, not delete all shine. Products without any specular highlight often look fake.
Method 4: Replace Reflections With A Controlled Gradient
Sometimes reflections are too blown out, too distracting, or simply impossible to “heal” naturally. This happens a lot with glass bottles and glossy packaging.
In these cases, you can rebuild the highlight with a gradient.
Create a new layer. Use the Gradient Tool with a soft white-to-transparent gradient, then lower opacity until it matches the product’s lighting. Try Soft Light or Overlay blend modes for realistic shine. Mask it carefully so it follows the surface curve.
This method is excellent when you want a consistent studio-like highlight across a product line, especially for eCommerce where the set needs to match.
Once reflections are under control, color correction becomes easier. The trick is to correct globally first, then correct locally.
Step 1: Correct White Balance And Exposure
Use Camera Raw Filter (Filter > Camera Raw Filter) if you are working with a JPG or a flattened file. If you have a RAW file, do this in Adobe Camera Raw or Lightroom first.
Adjust White Balance using the eyedropper on a neutral area if available. Then set exposure so the product is not clipped. Pull highlights down if needed and raise shadows carefully. Be gentle. Over-lifting shadows often makes products look gray and cheap.
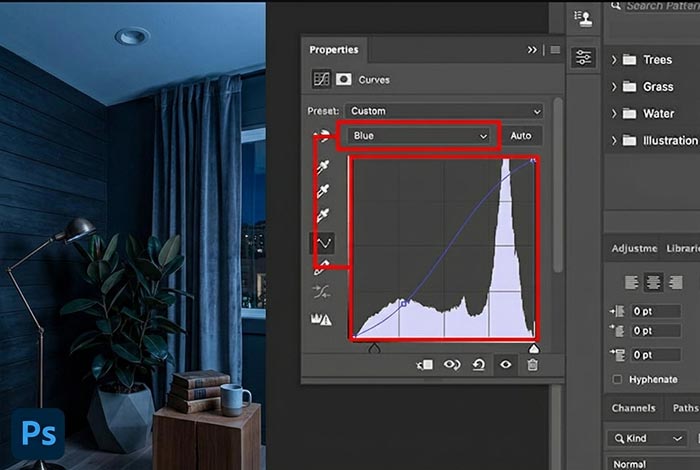
Step 2: Use Curves For Clean Contrast Without Color Shifts
Curves is the most reliable tool for product color accuracy. Add a Curves adjustment layer and set black and white points carefully. Watch the histogram, but trust the product detail. You want depth without crushing texture.
If color changes while adjusting contrast, switch the Curves layer blend mode to Luminosity. This is a professional habit that saves time and keeps colors stable.
Step 3: Fix Color Casts Using Selective Color Or Color Balance
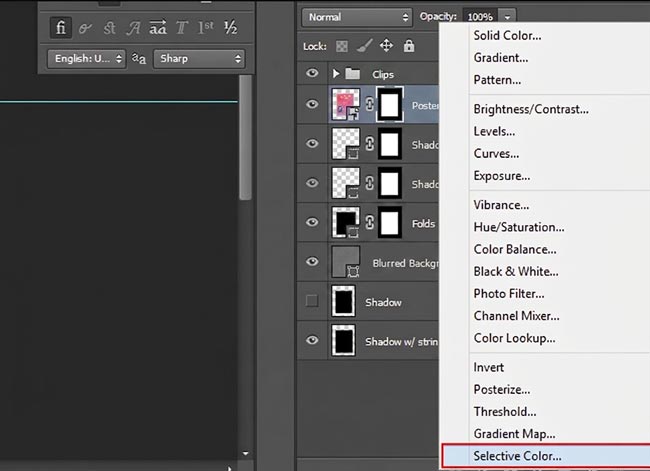
If whites look yellow, grays look green, or the product looks too warm, use Selective Color.
For example, if a white background looks slightly yellow, go to Whites and reduce Yellow. If the product is neutral gray but looks greenish, go to Neutrals and reduce Cyan or adjust Magenta. Work slowly. Small moves matter.
Color Balance is faster when you know what you are doing. Push the opposite direction of the cast in shadows, midtones, or highlights. For product photos, midtones usually matter most because that is where brand colors live.
Step 4: Match Brand Colors With Hue/Saturation (Targeted)
If you are editing for a brand, color accuracy is not “close enough.” A red shoe that becomes orange can cause returns.
Use Hue/Saturation, target a specific color range (Reds, Blues, etc.), then adjust Hue and Saturation slightly. Keep an eye on other areas that share that color. If the adjustment affects the wrong parts, mask it.
A very practical approach is to build a “Color Fix” group and mask every correction so it only touches the product, not the background.
Step 5: Use A Neutral Reference (If You Have It)
If you have a gray card shot or a known neutral in frame, your job becomes much easier. You can also use known product color references from the brand’s website, but be careful because web images are often edited too. The best reference is always the real product under neutral light, or a color checker used on set.
Keep It Real: Shine And Color Should Look Believable
A common mistake is removing every highlight. Specular highlights are part of what makes a product look premium and three-dimensional. The goal is to remove distracting reflections, not remove lighting.
Similarly, color correction should not push everything into oversaturation. Most eCommerce marketplaces prefer clean, true-to-life colors. Your edits should make the product look accurate and consistent across a full catalog.
A Quick Reflection And Color Workflow You Can Reuse
If you want a repeatable process, here is the order that usually produces the best results:
- Clean distracting reflections first (Curves + mask, then healing/cloning if needed).
- Rebuild natural highlights if the product becomes too flat.
- Correct white balance and exposure.
- Set contrast with Curves (use Luminosity blend mode if needed).
- Fix color casts (Selective Color / Color Balance).
- Match product colors with targeted Hue/Saturation and masking.
- Final check at 100% zoom, then export for web.
Use this workflow a few times and it becomes second nature.