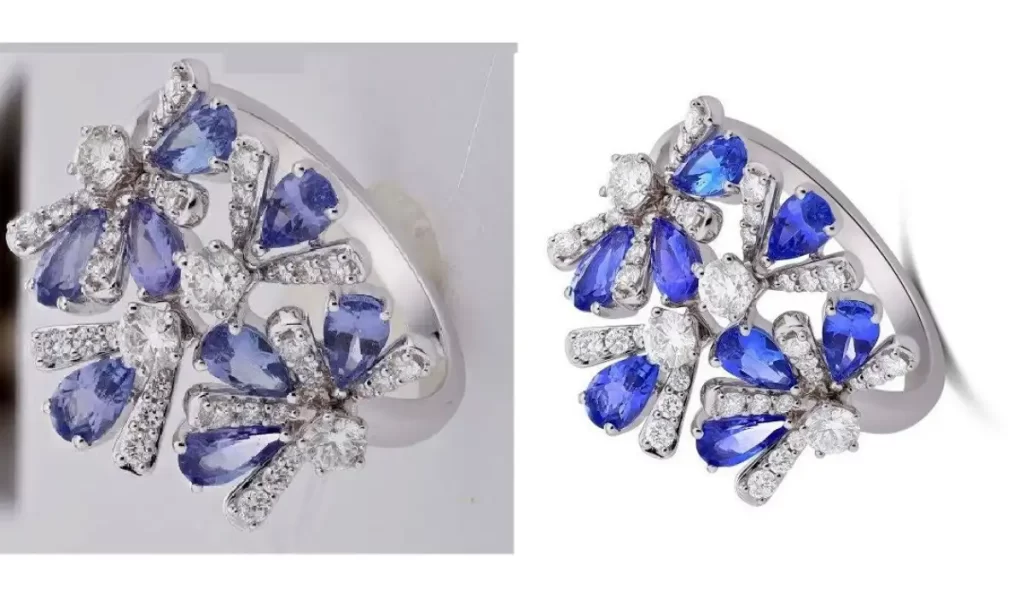
Have you ever thought about how to take good photos of jewelry?
To bring out the beauty of each piece of jewelry, you have to use careful techniques to capture its sparkle and detail. Your jewelry pictures can look professional and interesting if you use the right settings, lighting and tools. This will help you show off each piece in its best light.
Table of Contents
Jewelry Photography Lighting Tips
Lighting is essential for capturing the beauty and brilliance of jewelry. Since jewelry often has reflective surfaces, it’s crucial to balance lighting to avoid unwanted reflections, shadows, and glares. Below are some top tips to achieve perfect lighting in jewelry photography. Our jewelry photo retouching services make sure that every piece is shown off beautifully by bringing out its colors and features.
1. Use Soft, Diffused Light
- Soft light gets rid of strong shadows and glares, making it easier to see the details of the jewelry. A lightbox or diffusers on your light source can help you get soft light.
- Keep the light away from the jewelry so that it is properly lit and doesn’t take over the shot.
2. Experiment with Different Angles
- You can find the best lighting for the jewelry by moving the lights around it at different angles.
- Lighting from the sides can give things depth, and lighting from above can give gems an expert glow.
3. Use Reflectors to Add Dimension
- Some things, like white foam boards or silver cards, can reflect light back onto the jewelry, making it look bright and clear.
- For a balanced, three-dimensional look, put the mirrors across from your light source.
4. Control Reflections
- Reflections can be hard to get right, especially on gem or metal surfaces. To cut down on shadows, try putting a circle polarizing screen on your camera lens.
- You could also work in a light tent or lightbox to cut down on shadows from the room.
5. Consider LED or Continuous Lighting for Stability
- LED and constant lights work well and are simple to manage, so the strength and color temperature stay the same.
- LEDs give off steady, flicker-free light that is great for taking pictures of jewelry and is less likely to make your space too hot.
6. Utilize Backlighting for Gemstones
- Translucent gems can sparkle more when they are lit from behind. Put a dim light behind the jewelry to make the gems stand out without making the picture too dark.
Lighting Settings for Popular Photography Setups
| Brand | Setup Type | Ideal Settings | Notes |
| Godox | Light Tent with Softbox | ISO 100, Aperture f/11, Shutter Speed 1/200s | Perfect for detailed shots without harsh reflections. |
| Neewer | LED Ring Light | ISO 200, Aperture f/8, Shutter Speed 1/125s | Great for softer shadows; adjustable brightness. |
| Impact | Fluorescent Light Kit | ISO 100, Aperture f/16, Shutter Speed 1/250s | Provides even lighting; reduces glare and hotspots. |
| Fovitec | Softbox Kit | ISO 100, Aperture f/11, Shutter Speed 1/160s | Balanced lighting for high-detail shots; good for metals and stones. |
| Elinchrom | Continuous LED Panel | ISO 200, Aperture f/9, Shutter Speed 1/200s | Adjustable color temperature; ideal for gemstone sparkle. |
Camera Settings for Photographing Jewelry
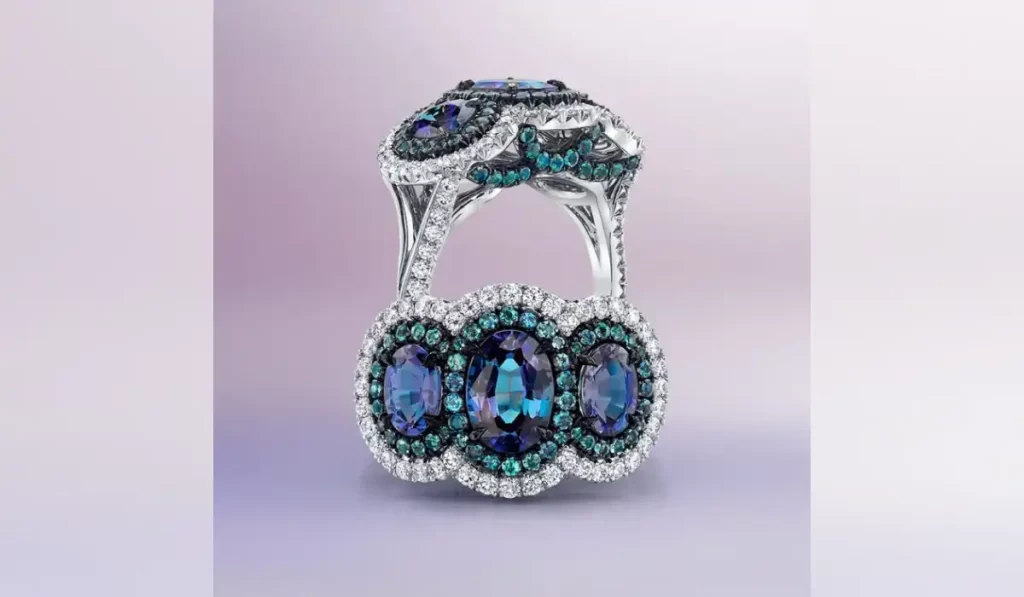
To get clear pictures of jewelry’s fine features and the way that valuable metals and gems reflect light, you need to use the camera’s settings very carefully. Using cutout image media methods to separate your jewelry pieces to make striking images that show off their beauty without any other elements getting in the way. To make pictures that are engaging and show off each piece’s uniqueness, it’s important to get,
- Sharpness,
- True colors and
- Fewer shadows.
To help you get excellent results, here is a list of the best choices and most common setup options for different brands:
Key Camera Settings
- ISO: Keep the ISO low (100–200) to get rid of noise and get a clear picture. When taking close-up pictures, higher ISOs may cause grain that you don’t want.
- As for aperture (f-stop), pick a bigger aperture (f/8 to f/16) for more depth of field. This makes sure that from front to back, most or all of the jewelry’s features stay clear.
- Shutter Speed: If you want to let more light in but don’t want the camera to shake, change the shutter speed to a faster setting. Using a stand can help keep the shot steady.
- With white balance, you can either set it by hand or let auto white balance do it for you. To get true colors, you might want to set your white balance to match your lights and avoid color shifts.
- Focus Mode: You can choose between manual focus and single-point tracking to get a clear picture of small details. Macro lenses are great for jewelry because they let you look close up and get a lot of detail.
Table: Recommended Setup Options by Brand
| Brand | Camera Model | Lens Type | Light Source | Setup Cost Range |
| Canon | Canon EOS R5 | 100mm Macro Lens | Lightbox + Softbox | $$$ (Higher Range) |
| Nikon | Nikon D850 | 105mm Micro Lens | Ring Light + Diffuser | $$$ (Higher Range) |
| Sony | Sony A7R IV | 90mm Macro Lens | Softbox with LED lights | $$$ (Higher Range) |
| Panasonic | Lumix G9 | 45mm Macro Lens | Natural Light + Reflectors | $$ (Mid Range) |
| iPhone | iPhone 14 Pro | Macro Lens (Clip-on) | Portable Lightbox | $ (Affordable) |
| Samsung | Galaxy S23 Ultra | Macro Mode (built-in) | Ring Light | $ (Affordable) |
Best Way to Photograph Jewelry
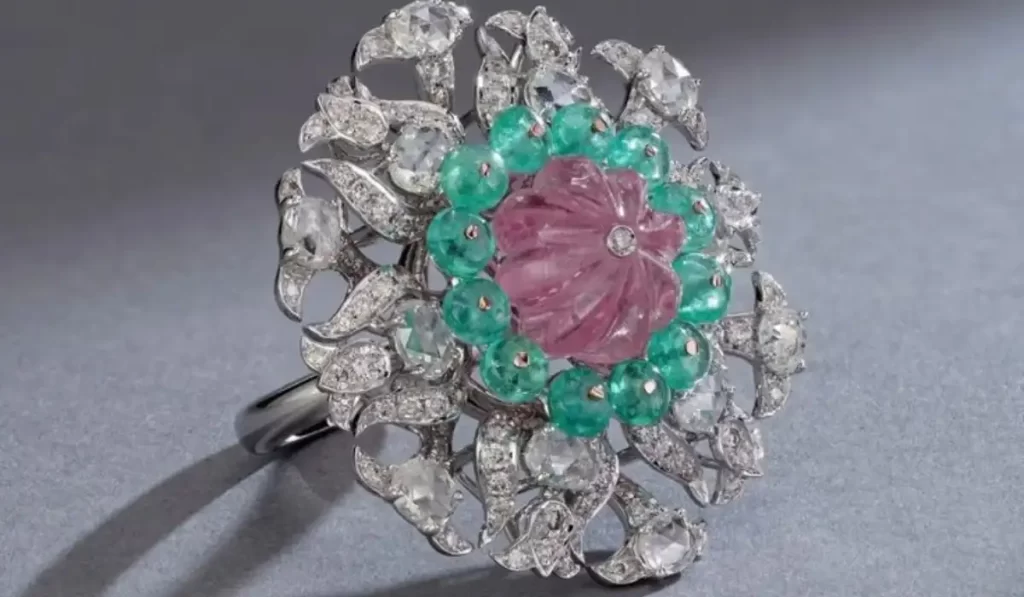
Photographing jewelry requires attention to angles and the arrangement of the environment to emphasize the beauty, texture, and shine of each piece. With our professional photo editing skills to turn your raw jewelry images into beautiful pictures that get people to buy and raise the profile of your brand. Here are some expert tips on angles and environment setup to make your jewelry look stunning:
Angles for Jewelry Photography
- Front Angle
This simple view shows the piece of jewelry just the way it is. It works great for chains, pendants, and bigger pieces because it captures the pattern and balance so well. - Side Angle
When you shoot from a small side angle, the depth and volume of rings, earrings, and bands stand out more. From this angle, you can see any carvings, textures, or design features that you might not be able to see from the front. - Top-Down Angle
This view from above is good for earrings, bracelets, sets, and other things that are laid flat. It lets you see the whole design and makes it easier to include several things or pieces that go well together in one shot. - Close-Up/Macro Angle
Close-ups show small features like gemstones, pins, or carvings. A closeup lens works best at this point because it makes sure that every detail is clear and has a high sharpness. From this position, you can also see how fabrics sparkle and feel. - 45-Degree Angle
This view is fair because it shows both the top and side of the jewelry. It works especially well for rings and earrings because it shows off their full shape and gives the picture depth.
Setting Up the Environment
- Choose a Simple Background
To make the jewelry stand out, use a dark background, like white, black, or gray. For extra class, you can also use soft textures like silk or marble. Stay away from settings that are too busy and take away from the jewelry. - Add Soft, Diffused Lighting
To keep shadows and effects from being too sharp, use soft lighting. A lightbox or softbox is great for taking pictures of jewelry because it gives the pieces a uniform glow that keeps them from reflecting too much light. Shoot near a bright window if you want to use natural light, but stay out of direct sunlight. - Use Reflectors
Reflectors can help bring light to dark spots and make jewelry sparkle even more. To make the lighting look even and professional, put small mirrors across from the light source. - Include Props Sparingly
Small, neutral props like ring cases, necklace stands, or textured cloth can help set the scene. Props like soft fabrics or simple geometric shapes should go well with the jewelry without drawing attention away from it. - Eliminate Reflections
Reflections can make the metal look less important. To get rid of annoying shadows, put diffusers over the lights and keep the area simple. Place the camera and yourself so that neither of you can be seen in objects that reflect light.
How to Take Pics of Jewelry Using an iPhone?
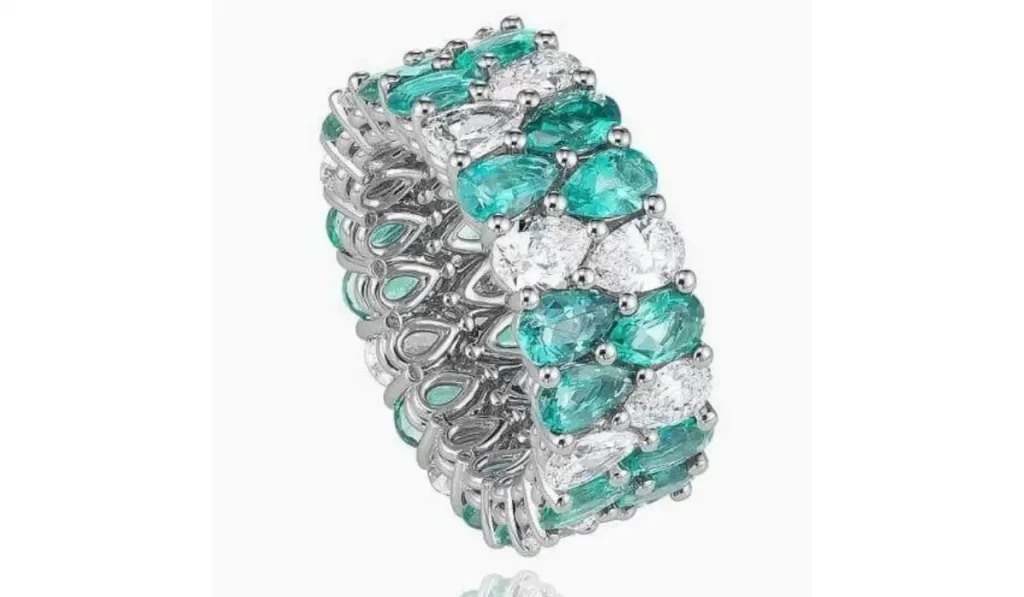
It’s easier than you think to take beautiful pictures of jewelry with your iPhone. You can take pictures that look like they were taken by a professional if you know the right settings and methods. Product photography is the practice of taking high-quality pictures of things for business use. Because of this, it is necessary to show off jewelry to potential buyers in the best way possible. Here is a complete guide on how to use your iPhone to take great pictures of jewelry.
1. Camera Settings
There are many settings and tools on the iPhone camera that can help you take better pictures of jewelry. Take a look at these things:
- Use the most recent version of iOS: To use the newest photo features, make sure your iPhone is up to date.
- Pick Out the Right Lens: You can switch between the normal and wide-angle lenses on the iPhone’s two cameras. The standard lens is best for most jewelry shots, but the wide-angle lens can give you interesting angles.
Recommended Camera Settings
- Focus: Tap the screen to draw attention to the stone or small feature that you think is most important on the jewelry.
- Brightness: After clicking to focus, slide your finger up or down to change the brightness. This lets you make the picture lighter or darker.
- Grid Lines: Go to Settings > Camera > Grid and turn on grid lines. This helps you use the rule of thirds to make a balanced design.
- If you want to take pictures with a lot of contrast, use HDR mode. It helps you get more information in the shadows and highlights.
2. Lighting
Lighting is very important for showing off jewelry’s true beauty. Here are some tips for getting the best lighting:
- Natural Light: Using natural light, the best time to shoot is during the day. Put your jewelry near a window so that soft, even light can shine on it.
- Stay out of direct sunlight. It can cast sharp shadows and glare. Instead, shoot when it’s cloudy or with thin curtains to spread out the light.
- Lightbox: If you want to control the lights, you might want to use a lightbox. This will help get rid of shadows and make the lighting even.
3. Background and Setup
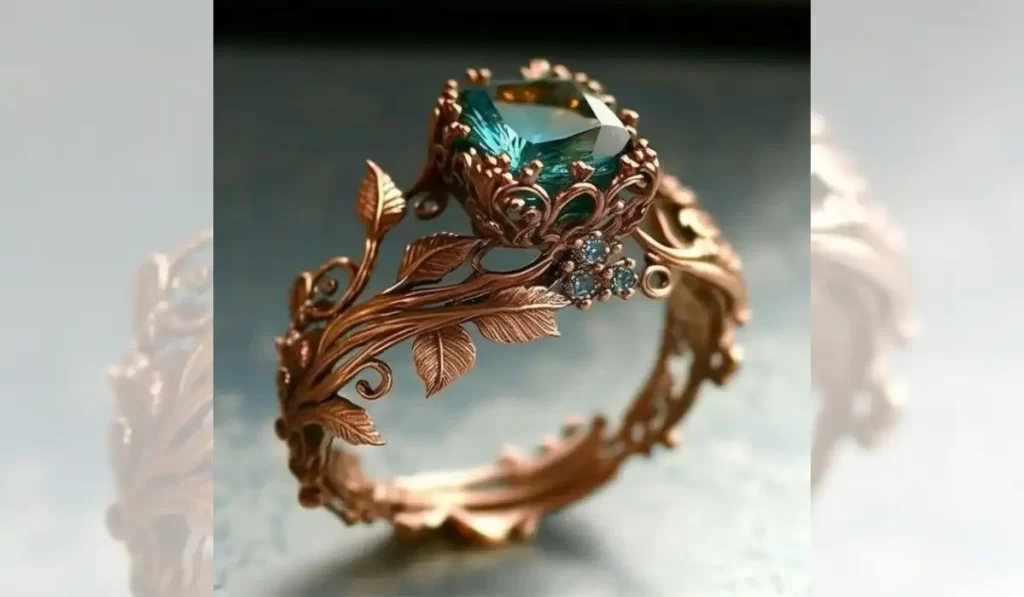
The setting is an important part of showing off metal. Here’s how to make a setup that looks good:
- Simple Backgrounds: Solid or neutral colors, like white, black, or soft pastels, should be used for the background. This makes the jewelry stand out.
- Textured Fabrics: To add depth without drawing attention away from the jewelry, use textured fabrics like satin or silk.
- Keep your iPhone steady: To keep your pictures from being blurry, use a tripod or a stable surface, especially when there isn’t much light.
4. Composition Tips
If you use the right arrangement, your jewelry pictures will stand out. Here are some tips for writing:
- Views: Try out different viewing points. Often, a 45-degree angle is the best way to show how deep rings and earrings are.
- Close-ups: If your iPhone has one, use the macro mode to get close-up shots of small things like stones and clasps.
- Rule of Thirds: Use the rule of thirds to help you place your jewelry so that the picture looks more interesting.
5. Editing Apps
After you take a picture, you can use an editing app to make it even better. Here are some apps that you might like:
| App Name | Features |
| Snapseed | Professional editing tools, filters, and adjustment options. |
| VSCO | Easy-to-use presets and advanced editing features. |
| Lightroom | Powerful editing features with RAW support. |
| Afterlight | A wide range of filters and textures for creativity. |
| Photoshop Express | Basic editing tools with options for touch-ups. |
How to Take Good Photos of Jewelry Using Android?
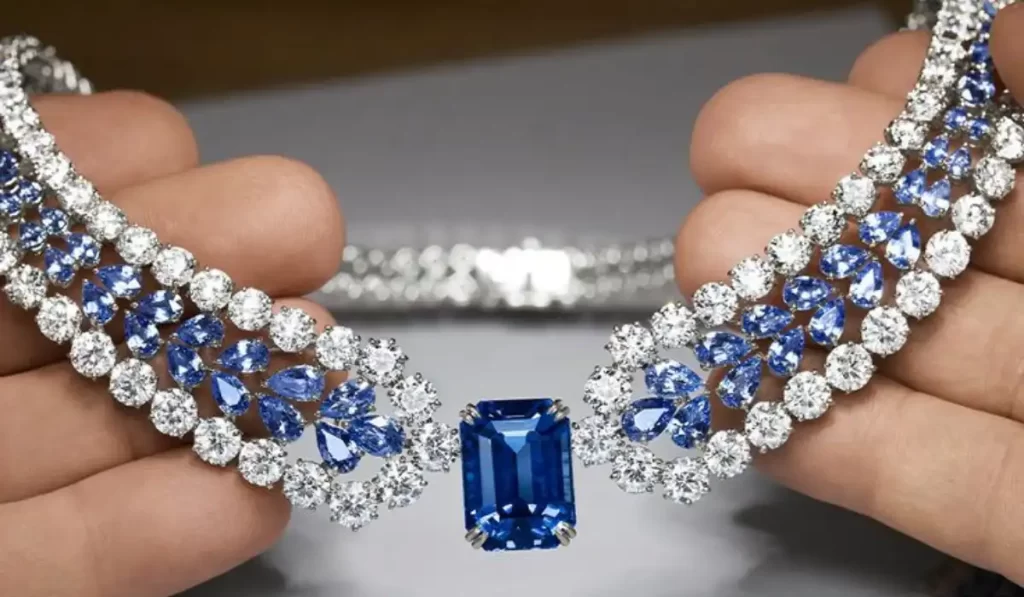
There are many tools and settings on Android phones that can help you take beautiful pictures of jewelry. Amazon Photo Dimensions are important to know if you want to sell jewelry on Amazon. This will make sure your pictures meet their needs and get more people to buy them. If you know what to do, you can take pictures of your jewelry that look like they were taken by a professional and show off their beauty and complexity. How to use an Android phone or tablet to take great pictures of jewelry.
1. Camera Settings
To get the best results, you need to change the settings on your Android camera. Here are some settings that work well:
- Pick the Right Mode for Your Camera: A lot of Android phones have more than one picture mode. More power over ISO, shutter speed, and focus can be found in the “Pro” or “Manual” mode.
- Focus: To focus, tap on the piece of jewelry on the screen. Make sure the important features are clear and sharp.
- Brightness: Change the brightness so that the jewelry isn’t too dark or too bright. Make any changes you need to with the exposure tool.
- Grid Lines: Turn on grid lines to help you put together pieces. This helps you use the rule of thirds to decide where to put your jewelry.
Recommended Camera Settings
| Setting | Recommendation |
| ISO | 100-200 for well-lit conditions |
| Shutter Speed | 1/100 or faster to avoid blur |
| White Balance | Adjust based on lighting conditions |
| Focus Mode | Use manual focus for precision |
2. Lighting
Lighting is very important for taking pictures of jewelry. Here are some good ways to set up your lighting:
- Natural Light: To show off your jewelry, use natural light from a window. Soft, spread-out light will make sparkles stand out and reduce shadows.
- Stay away from bright light. Direct sunlight can make effects and shadows that are too sharp. If you want to shoot, choose a cloudy day or use shades to spread out the light.
- Artificial Lighting: If you’re working inside, you might want to use softbox lights or LED screens to keep the lighting even. To cut down on glare, put the lights at a 45-degree angle.
3. Background and Setup
Setting up your gear correctly is very important. This is how you can set up your space:
- Simple Backgrounds: Choose backgrounds that are solid and plain so that they go well with your jewelry. You can choose white, black, or gray.
- Backgrounds with texture: Add soft textures like wood or fabric to make the piece more interesting without taking away from the jewelry.
- When you want to keep your Android device fixed, use a stand or a flat surface. This is very important when there isn’t much light.
4. Composition Tips
The way your jewelry is arranged can have a big effect on the quality of your pictures. Here are some things to think about:
- Views: Take pictures from different angles to find the one that makes you look your best. An slope of 45 degrees works well for rings and chains most of the time.
- Close-ups: To take pictures of small things like gemstones and clasps, use the macro mode on your Android.
- Creative Framing: To make your pictures more interesting and give them depth, try doing some creative framing.
5. Editing Apps
Once you’ve taken the pictures, editing them can make them look much better. This list has some of the best editing apps for Android:
| App Name | Features |
| Adobe Lightroom | Advanced editing features with RAW support. |
| Snapseed | Comprehensive editing tools and filters. |
| PicsArt | Creative editing with various filters and effects. |
| VSCO | Intuitive interface with great presets. |
| Pixlr | User-friendly editing tools and effects. |
At The End
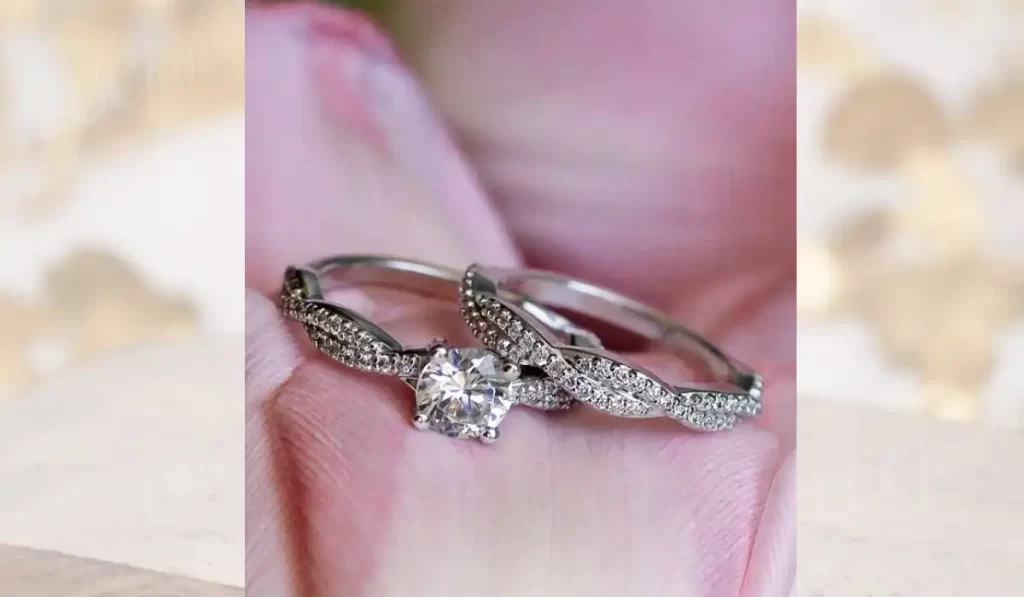
It’s very important to know how to take good photos of jewelry if you want to show it off and get people interested in buying it. Your jewelry pictures will look clean and professional if you practice and learn how to use lighting, settings and frames correctly. It can be fun and satisfying to capture the sparkle and detail of each piece, whether you’re using a professional camera or an iPhone. This will leave a lasting impact on your audience.
FAQs
What camera settings are best for jewelry photography?
Use a low ISO (100–200) to get rid of noise, a small aperture (f/11 or higher) for depth, and a shutter speed that changes based on light to catch the sparkle and detail of jewelry. These settings bring out small details in your photos, making them look sharp and professional.
How to take pictures of jewelry with iPhone?
If you want to take great pictures of jewelry with your iPhone, use natural light or a lightbox and turn on portrait mode to soften the background. To make the jewelry shine, tap to focus on it and then slide up or down to change the exposure.
How to take a close-up of a ring with iPhone?
Use closeup mode or portrait mode on your iPhone to get a clear close-up of the ring. Hold the phone steady, tap to focus on the ring, and change the brightness until you get a great picture of the sparkle.
Is it necessary to use a lightbox for jewelry photos?
You don’t have to use a lightbox, but it does help! It evens out the light and gets rid of harsh shadows, which makes metal look polished. If you don’t have one, natural light will do; just stay out of direct sunlight to cut down on the glare.
How do I avoid reflections in jewelry photos?
Put a reflector or soft cloth over your light source and tilt your camera just a bit to cut down on reflections. Stay away from direct light on the jewelry and keep your space simple so that the metal or stones don’t show too much light.

