Have you thought about how photographers get pictures with perfect backgrounds?
Benefits of Image Masking for Photographers, such as the ability to precisely isolate objects, finetune edges and make eye-catching setups. These tools help photographers get the best shoot and easily deliver exceptional results.
Table of Contents
How to do Layer Masking in Photoshop?
Layer masking in Photoshop lets you change only certain parts of a picture without changing the whole thing. It gives you precise control over which parts of a layer are shown and hidden.
- Open Your Picture: Open the picture you want to work on in Photoshop first.
- Put in a Layer Mask: Pick out the layer and click on the Add Layer Mask button at the bottom of the Layers panel. This looks like a square with a circle inside it.
- Pick up the Brush Tool: Paint on the mask with the Brush Tool (B). Black hides parts of the layer, white shows them, and grey makes them partly see-through.
- Change the area of the mask: You can change the brush’s brightness to make smooth shifts between lines that aren’t straight.
- Make Mask Edges Better: Use tools like Feather, Smooth, or Radius to fine-tune the edges. To do this, right-click on the mask image and select “Select and Mask.”
- Connect or Turn Off Masks: Right-click on the picture of the mask to turn it off or unlink it so you can make changes without losing the mask.
- Change the Mask Levels: To make the mask even more precise in places like hair or smoke that aren’t very obvious, press Ctrl+L or use Curves.
Cutout image media do create precise cutouts to isolate subjects, ensuring smooth backgrounds for professional use.
Non-Destructive Editing vs Detailed Photo Adjustments
Non-destructive editing lets you change a picture without changing the pixels without losing any information. With Photoshop’s layers, masks, and smart objects, you can make changes in the future. Fine-tuning can be done in non-destructive ways without losing quality or having to start over, which makes them perfect for hard jobs.

For precise improvements like fixing flaws, fixing brightness, and sharpness, full picture changes include changing each pixel directly. Tools for changing pictures like the Healing Brush and Dodge & Burn make changes that last. These changes give you power over complicated areas, but they also make things less flexible and can’t be undone.
| Feature | Non-Destructive Editing | Detailed Photo Adjustments |
| Method | Uses layers, masks, and smart objects | Direct pixel editing (Healing Brush, Dodge & Burn) |
| Flexibility | Edits are reversible and adjustable | Changes are permanent and final |
| Use Case | Ideal for creative workflows | Best for precise retouching tasks |
| Impact on Original Data | Original pixels remain untouched | Alters pixel data directly |
| Suitability | Great for future-proofing and experimentation | Best for immediate, detailed enhancements |
Complex Image Cutouts
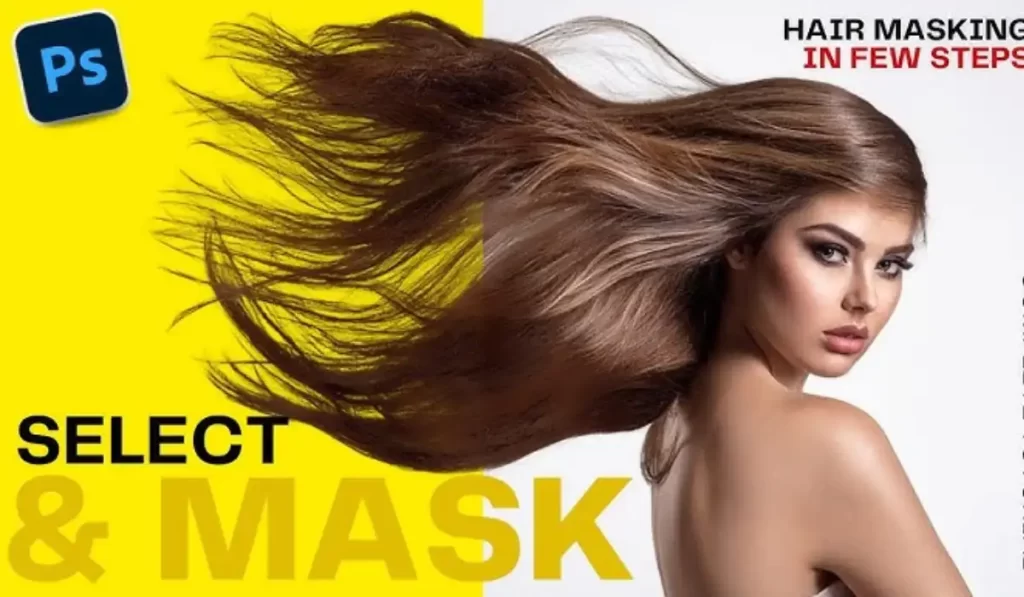
When you cut out complex pictures, you take out things like hair, fur, and see-through parts of the backgrounds. For accuracy in this process, you will need layer-blocking and editing tools. Photoshop’s Select & Mask and Pen Tool make it easy to separate things that aren’t the same.
You can use alpha channels to finetune the transparency and keep the shadows and soft lines. Product, fashion, and business shooters use these methods to draw attention to certain things. Complex cuts make it possible for items to fit perfectly into new backgrounds or combined pictures.
| Technique | Use Case | Benefit |
| Layer Masking | For hair, fur, and complex edges | Non-destructive, editable masks |
| Pen Tool Cutout | For precise selections (e.g., products) | Clean, sharp paths |
| Alpha Channels | Transparency and shadow control | Retains fine transparency details |
| Select & Mask Tool | Soft edges like hair and fabrics | Seamless subject isolation |
| Refine Edge | For refining detailed selections | Ensures smooth, accurate edges |
How to Create Transparent Backgrounds?
Making backgrounds that are see-through gives you more options for where to put your subject on other media, which is very important for product photography or graphic design.

- Open the Picture: Bring the picture into Photoshop.
- Unlock the Background Layer: To make the background layer changeable, double-click on the locked layer and change its name.
- Pick the Subject: To automatically choose, use the Magic Wand or the Select Subject tool. You can also use the Pen Tool to make choices by hand.
- Make the Choice Better: Choose, then change. To soften the edges of the pick, go to Select > Modify > Feather after expanding it by a few pixels.
- Put in a Layer Mask: To use the pick as a mask, click the “Add Layer Mask” button. This gets rid of the background.
- Fine-tune the Mask: Use Select and Mask to get rid of color banding around the sides, and use Decontaminate Colours to clean up the colors.
- Check Transparency: If you’re happy with the level of transparency, hide any other layers or backgrounds to keep the background clear.
You can save the picture in transparent formats: To keep the clarity, save the picture as a PNG or PSD.
| Feature | Layer Masking | Transparent Background Creation |
| Primary Use | Selective hiding or revealing of layer areas | Removing background while keeping subject transparent |
| Tools Used | Brush Tool, Gradient Tool, Select and Mask | Select Subject, Magic Wand, Pen Tool |
| Editing Type | Non-destructive editing | Non-destructive background removal |
| Ideal for | Blending layers, refining objects like hair | Product photography, logo design |
| Final Export Options | Retains layers and mask (PSD format) | Exported as PNG or PSD with transparency |
Product Photo Masking & Image Masking Services
Professional photography and design need product photo masking and image masking services to separate and edit items perfectly without changing the whole picture. Here are detailed descriptions of these services, focused on how they can be used, what they can do for you, how they work and how important they are.

What does Product Photo Masking mean?
Product picture masking separates an object from its background, especially when the edges of the object are complicated, like when it has a hair-like structure or a clear surface. This method guarantees accurate editing, which makes the product stand out by getting rid of unnecessary elements. Masking is used a lot in marketing and e-commerce, where perfect images are needed to get people to buy.
What does Image Masking mean?
Masking is a more complicated way to edit photos that lets you hide or show certain parts of a picture. It lets you edit without destroying the original picture, so changes can be undone and the original stays the same. This method is used when cutting paths can’t separate complex parts like fur, hair strands, or things that are only partially visible.
Comparison Table of Product Photo Masking vs Basic Image Editing
| Aspect | Product Photo Masking | Basic Image Editing |
| Precision | High, handles intricate details like fur | Limited to simple edges |
| Transparency Handling | Supports semi-transparent objects | Ineffective for glass-like surfaces |
| Non-Destructive | Yes, preserves original photo | Edits can be permanent |
| Use Case | E-commerce, ads, catalogs | Basic retouching for personal use |
| Time Required | Longer, due to detailed work | Faster, for simple edits |
Product photo masking is useful for e-commerce sites because it makes sure that goods stand out without any other elements getting in the way.
- Catalogues and brochures: Keeps all product pictures consistent.
- On social media, ads that use artistic backgrounds to improve pictures can get more people to interact with them.
- Print media: It gives product ads clean, professional pictures.
Steps in Image Masking for Product Photography
| Step | Description |
| Step 1: Open Image | Load the image in Photoshop or editing software. |
| Step 2: Add Mask Layer | Apply a layer mask to isolate the product. |
| Step 3: Refine Edges | Use “Refine Edge” or “Select and Mask” tools for precision. |
| Step 4: Adjust Transparency | Manage semi-transparent objects for clarity. |
| Step 5: Save and Export | Save the masked image in the required format. |
Here are five excellent tools for image masking and cutout media services,

- Adobe Photoshop
Adobe Photoshop has advanced masking techniques, layer masks, vector masks and color masking.
Link: Adobe Photoshop - PicsArt
This mobile and web app has tools for masking, blending and cutouts.
Link: PicsArt - Superimpose
It’s particularly useful for blending and mixing layers.
Link: Superimpose
At the end
In conclusion, are a lot of benefits of image masking for photographers. It helps them be more precise, makes photos look better. This method makes it easy for shooters to improve their work, whether they’re focusing on hair details or isolating the background. The result is pictures always capture people’s attention.
FAQs
Why is masking necessary in image processing?
Masking is an important part of image processing because it changes only certain parts of a picture without changing the whole thing. It gives you exact control, which is especially helpful when working with complicated things like hair or clear things. Masking lets you work with details, which makes pictures look clean and expert.
How does image masking improve photo quality?
Image blurring makes photos better by making the edges cleaner, bringing out small details, and getting rid of backgrounds that are annoying. It lets shooters make exact changes to certain parts of a picture, like fixing the colors or controlling the brightness. The end result is a polished, high-quality picture that looks nice and professional.
Is image masking useful for all types of photography?
Yes, picture blurring can be used for many things and is useful for fashion, products, headshots and even wildlife photos. It helps keep the purity of the picture by making sure that there are sharp features and clear subject separation. It makes the general look of an image better, whether it’s for an artistic design or a business job.
Can image masking be done in software other than Photoshop?
Of course. A lot of high-end programs, like GIMP, Affinity Photo and Pixelmator, have powerful blocking tools. These options offer similar blocking tools, letting you change photos at a professional level without using Photoshop.
Does image masking help in non-destructive editing?
Yes, image masking allows non-destructive editing because it lets you make changes to a picture without changing it forever. Edits can still be undone, which gives shooters the freedom to improve their work at any point without losing quality.


